As you know I became obsessed with the Bound Buttonholes after saw them in the Vintage Details Sourcebook.
If you follow me in Instagram you know all the experimentation, trial and error I’ve made looking for the best technique, and today I want to share with you the easiest way I’ve found to make them. =)
Let’s do it!
General Recommendations
- Don’t back stitch and don’t start sewing in the corners, it usually results in an unperfect rectangle.
- Always use interfacing on the garment fabric.
- Practice, practice, practice until you feel confident.
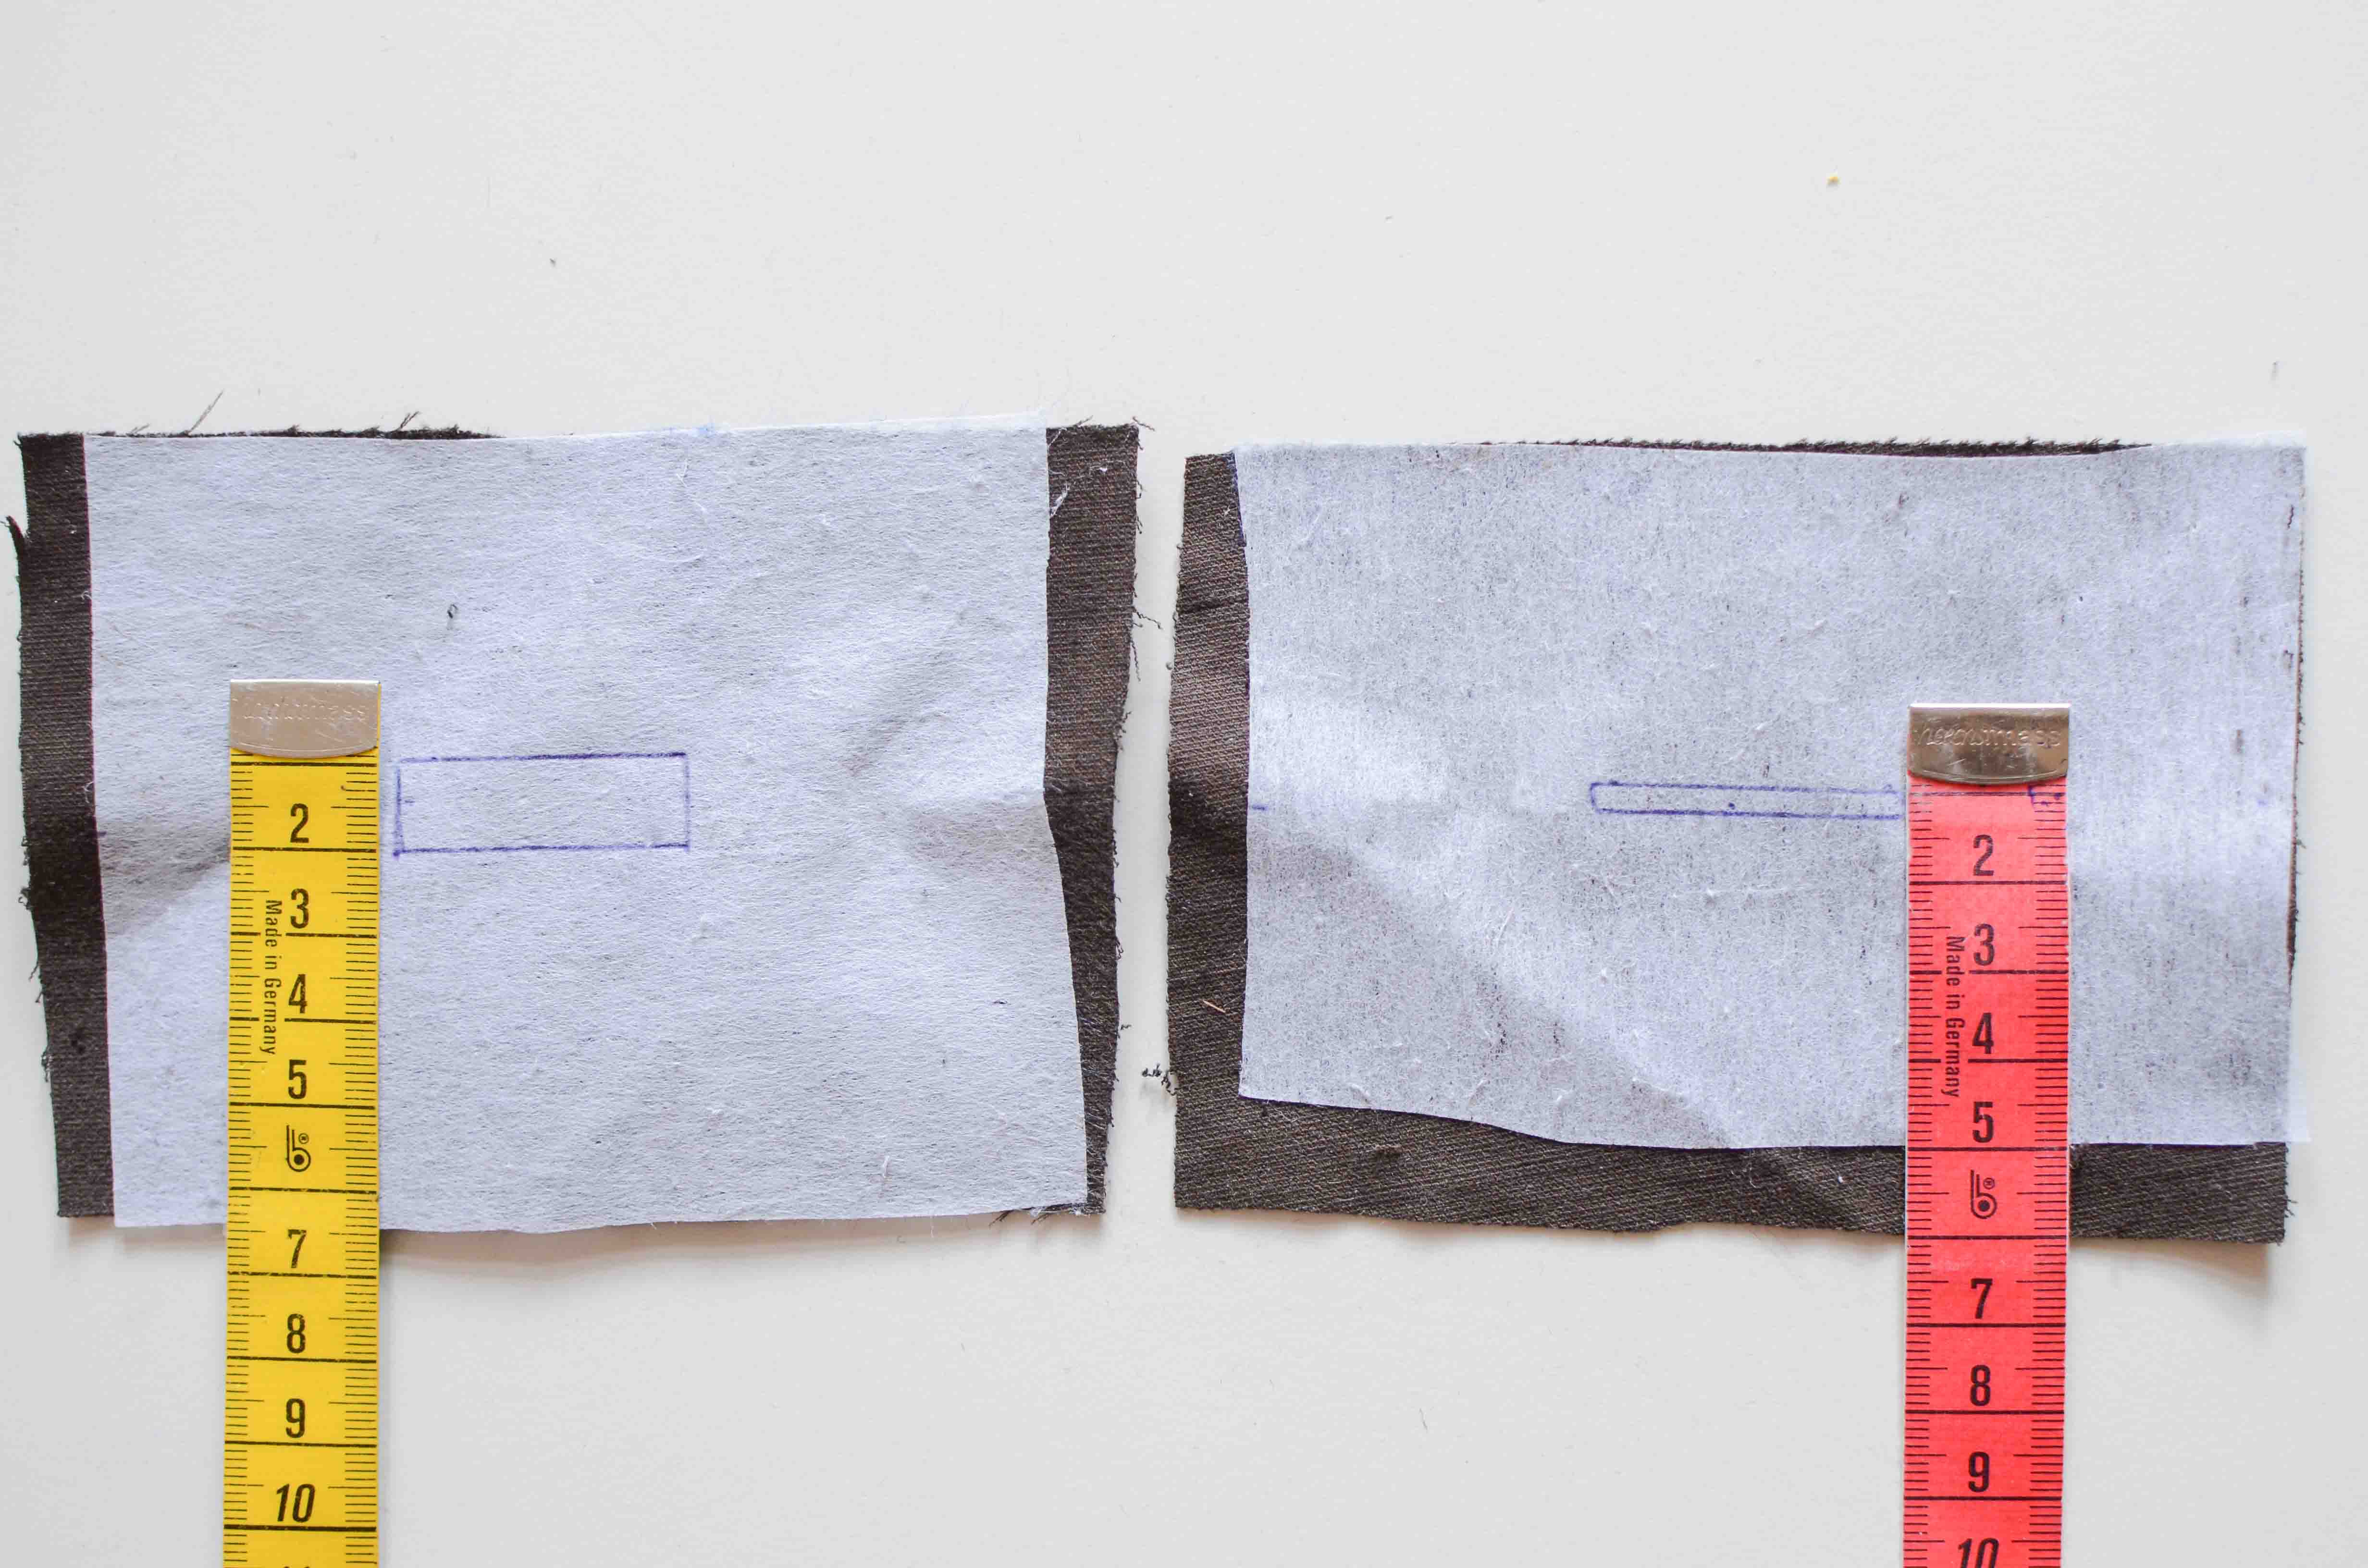
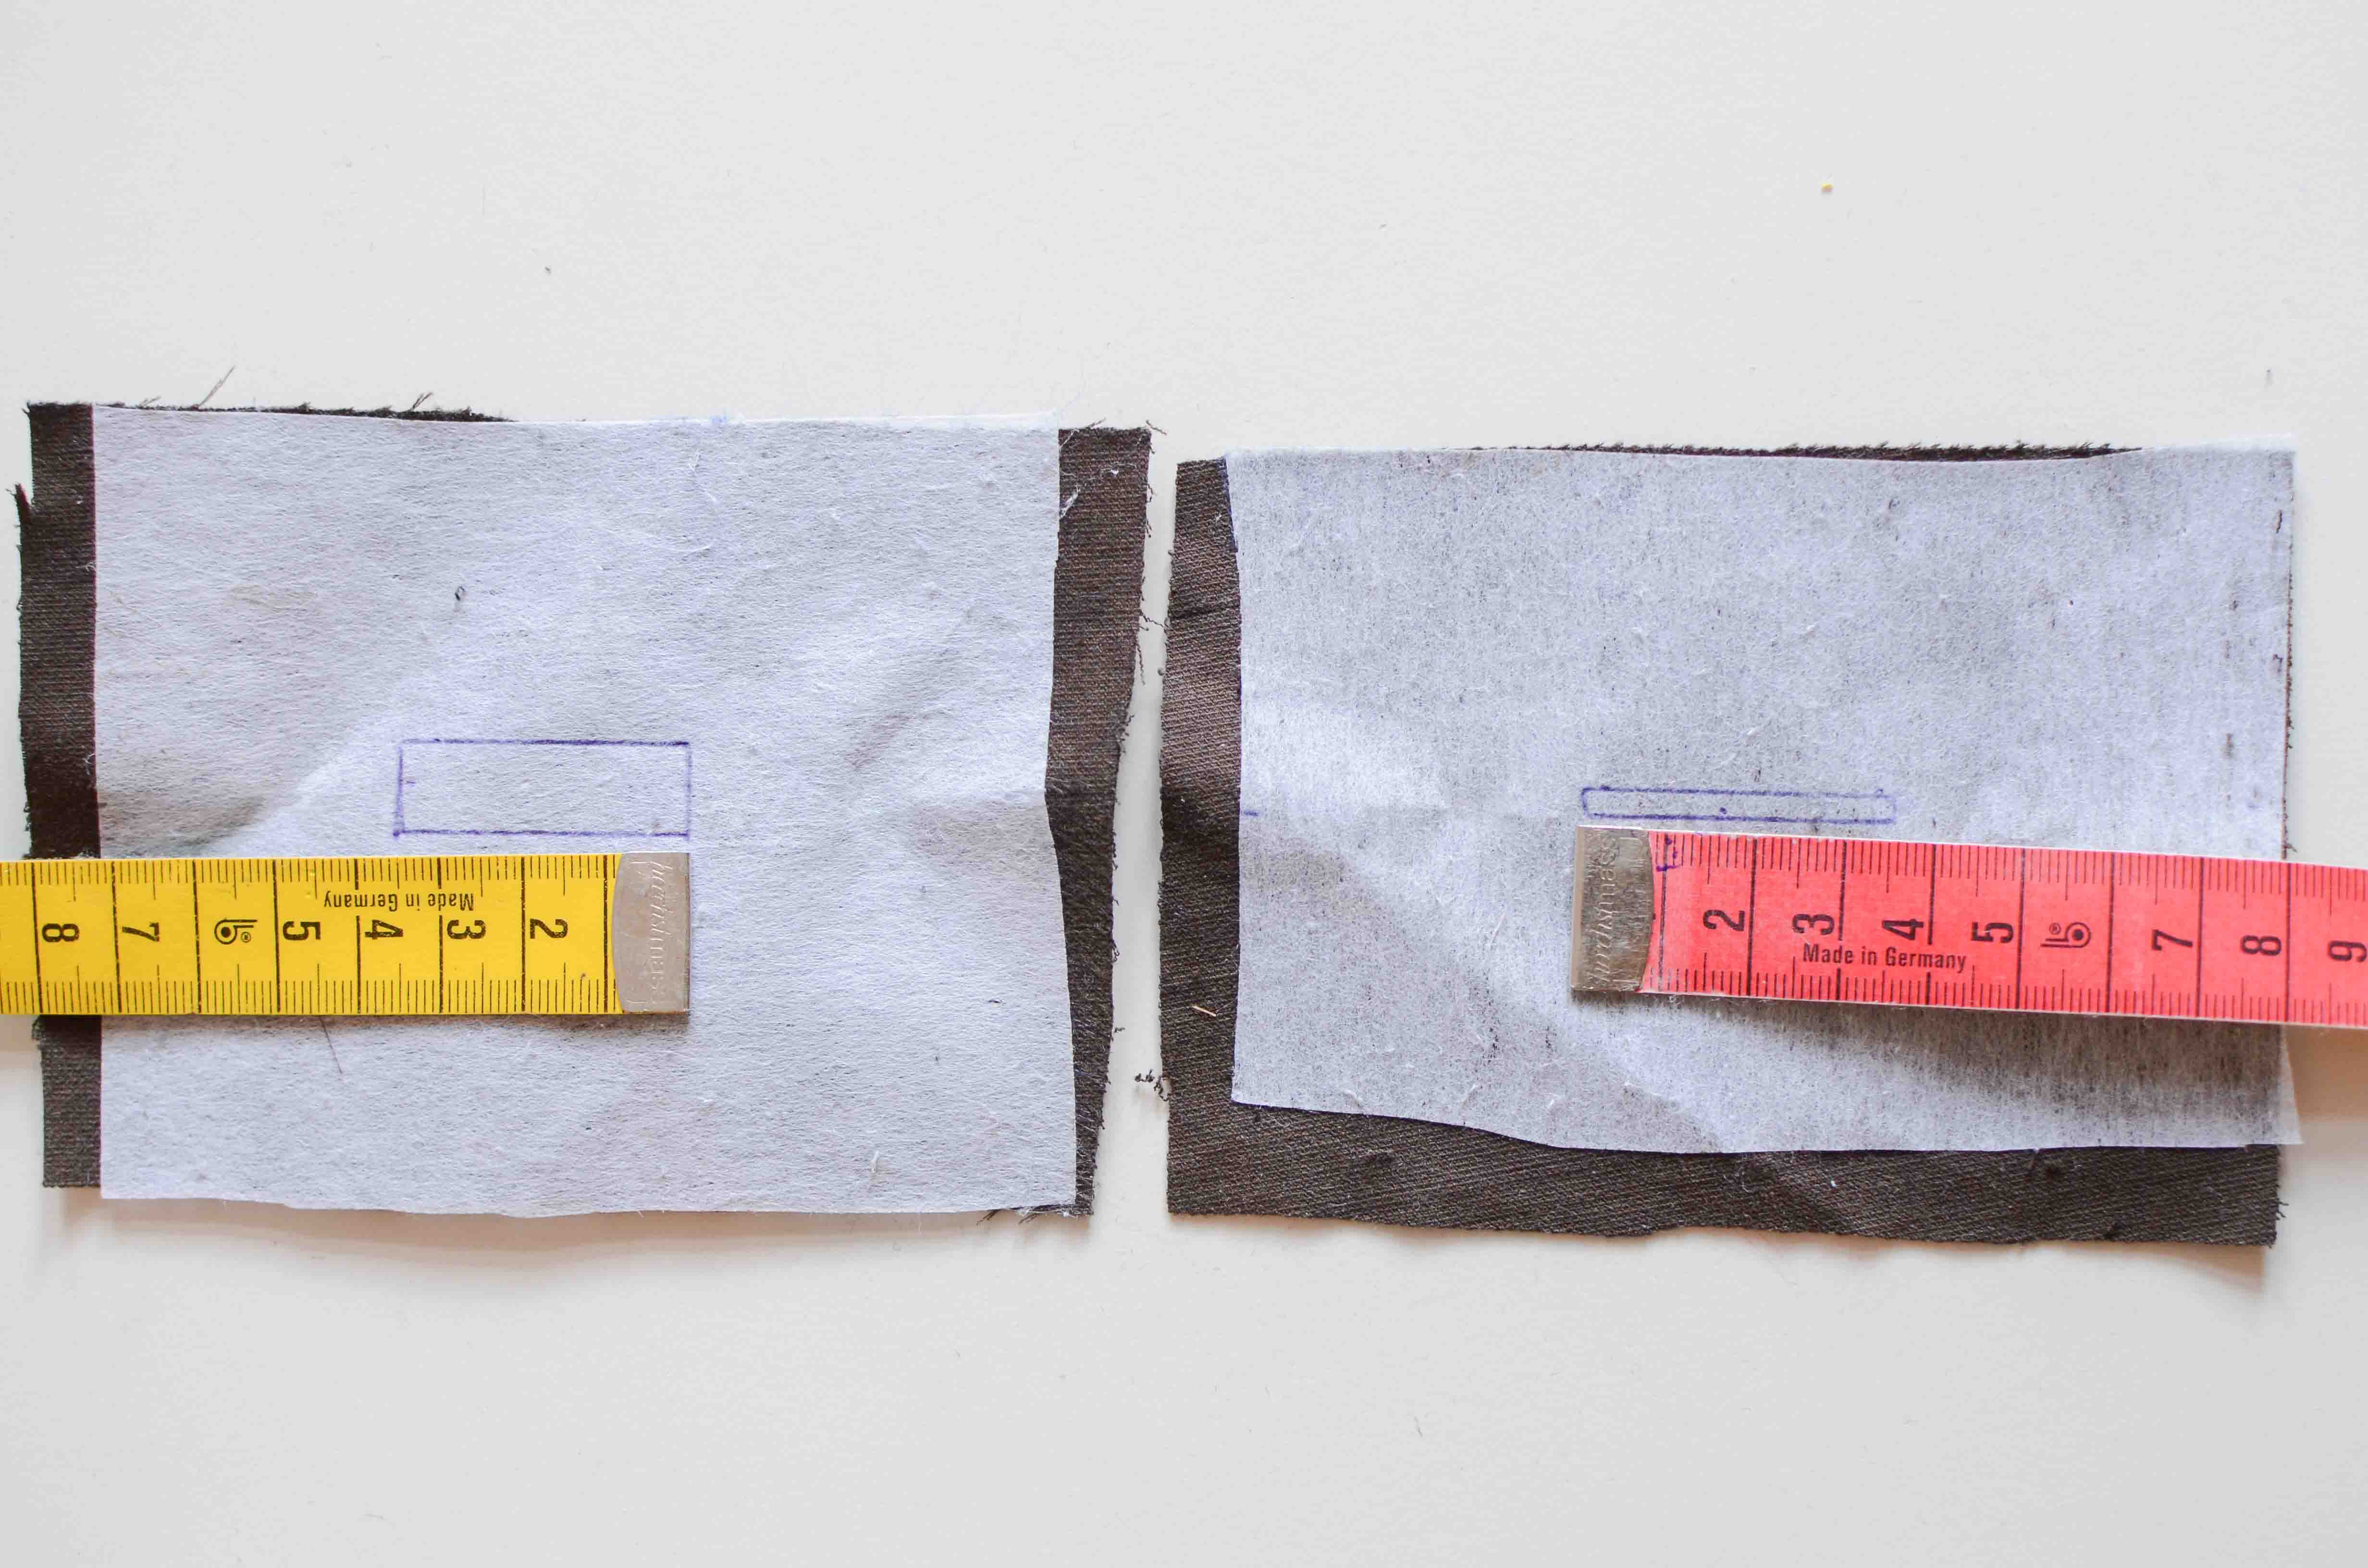
STEP 1
Apply the interfacing to the wrong side of the main fabric and lining.
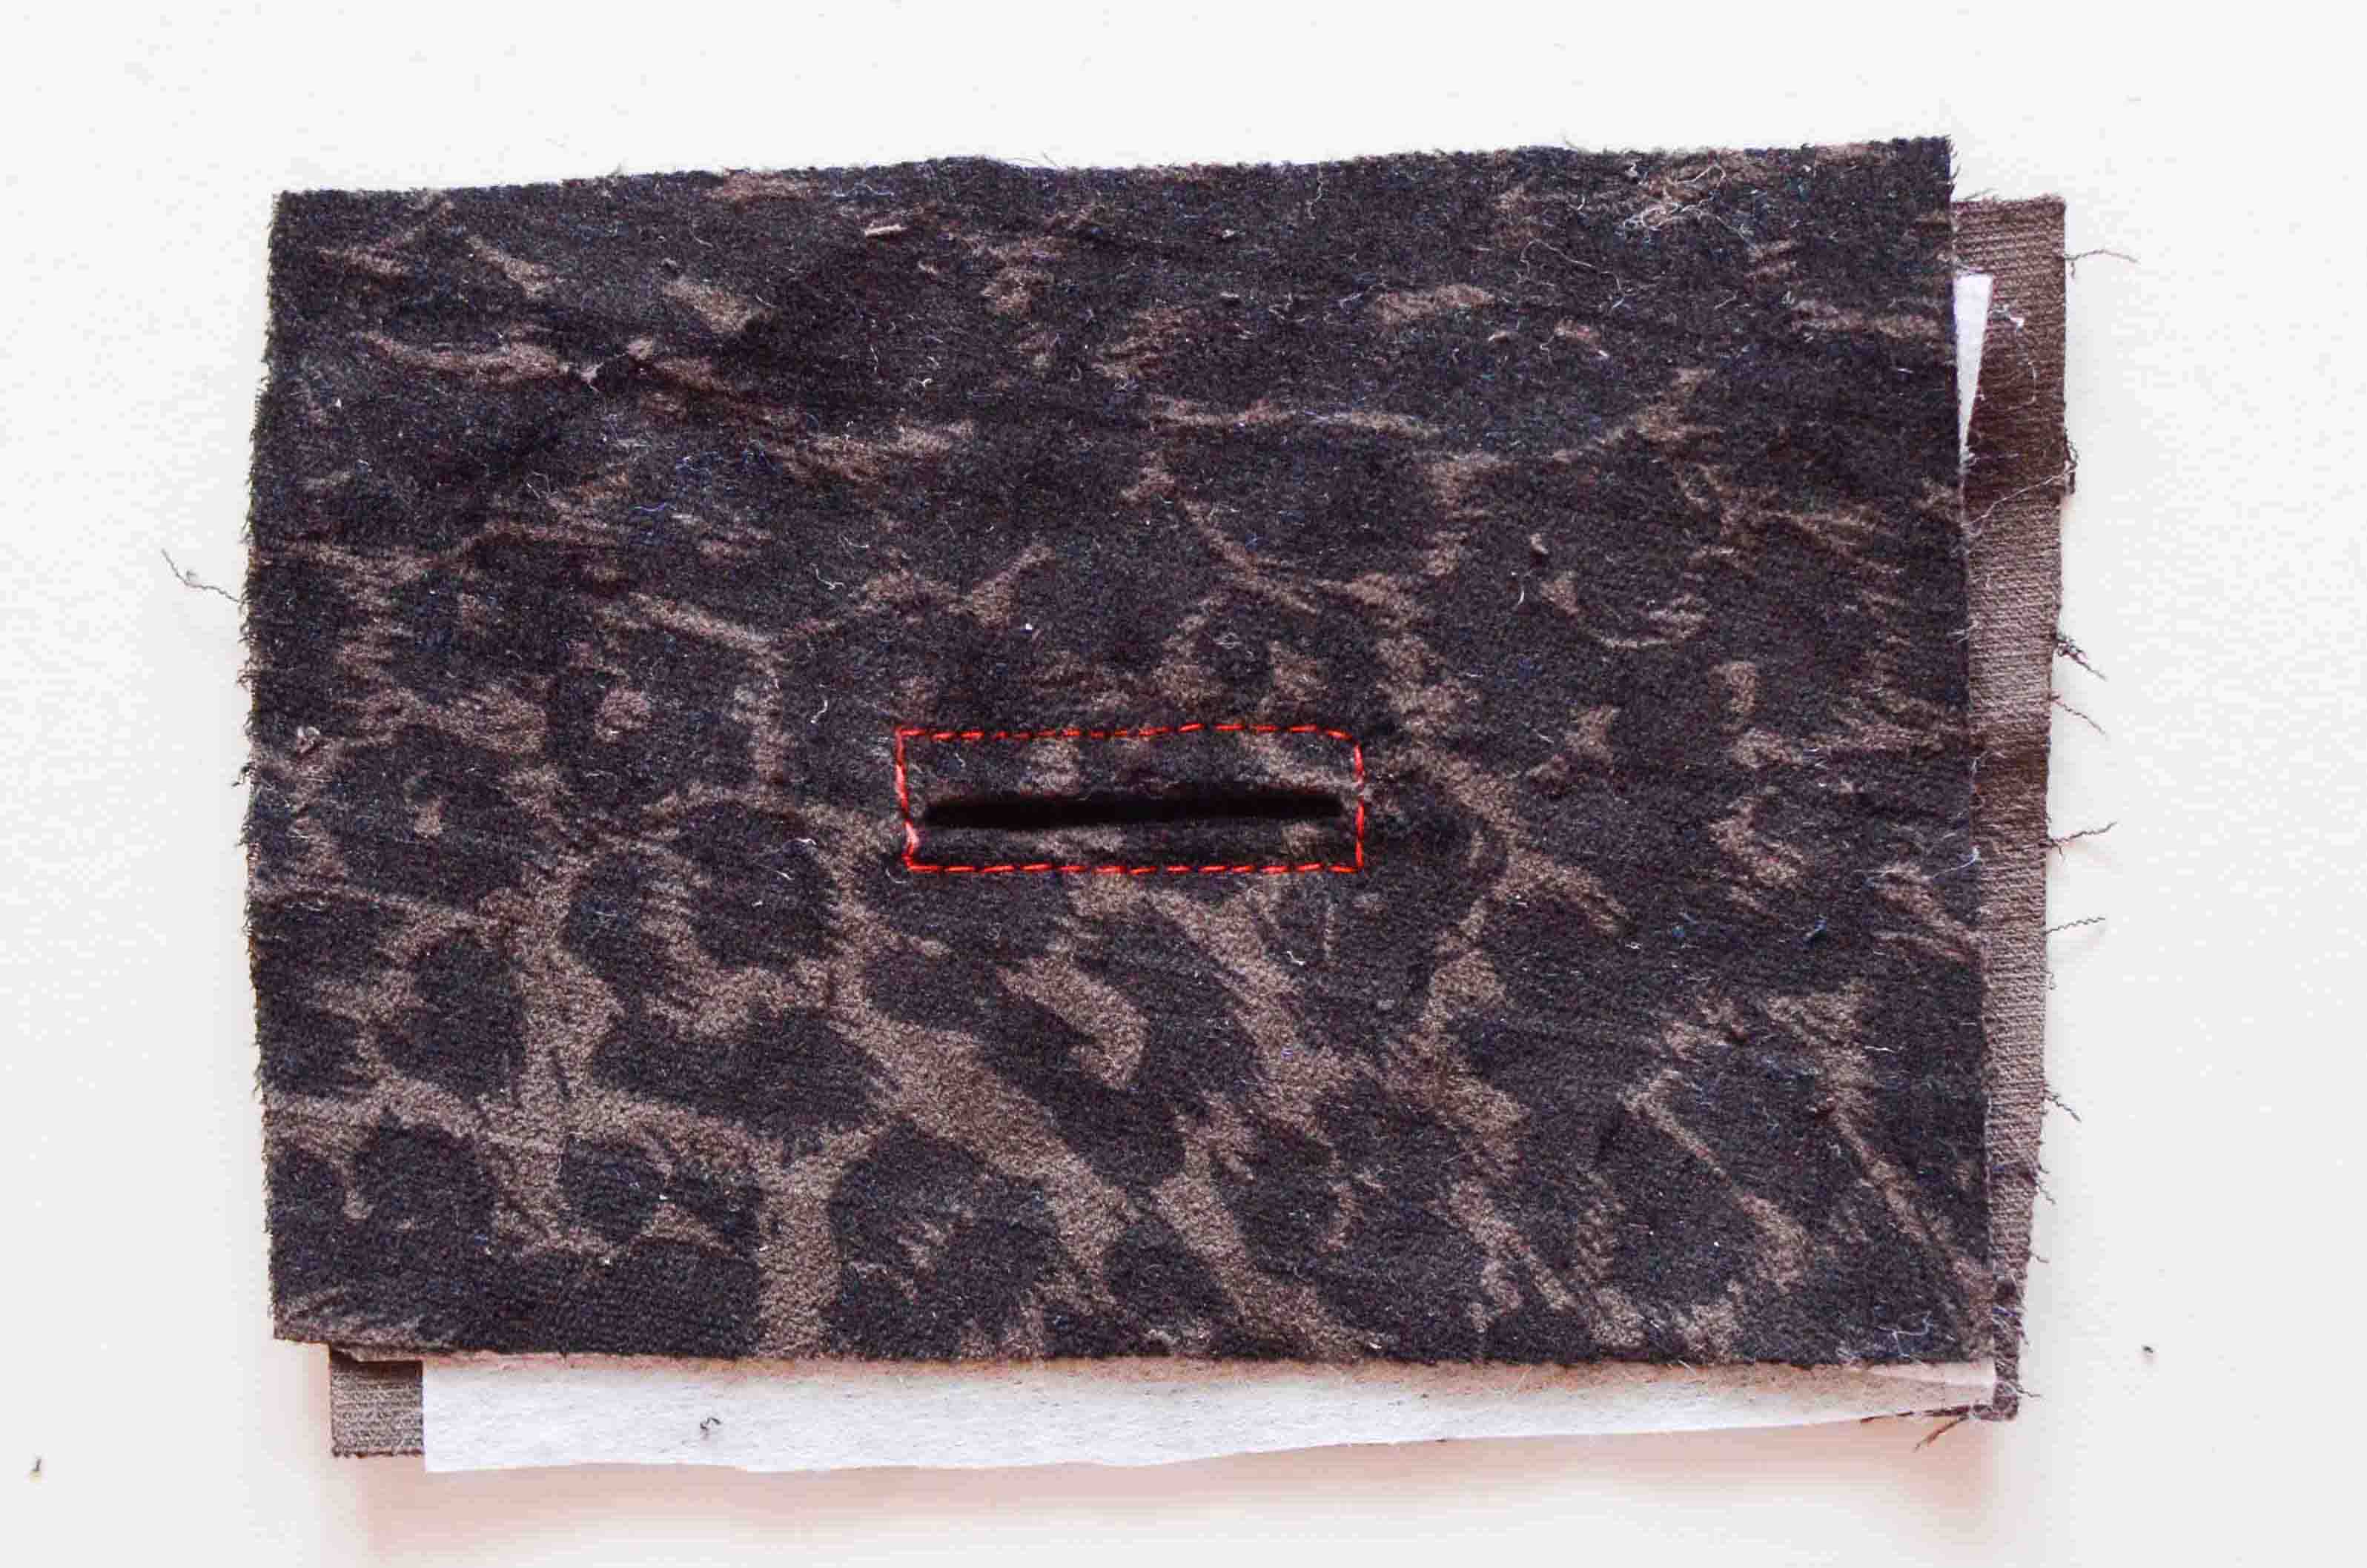
Fully mark your button hole placement on the interfacing.
The box dimension is going to depend on your button, take your button length and add 1 cm to it to obtain the box length. The box width depend on your taste. This one is 3,5 cm x 1 cm.
The lining box dimension is going to have the same length as the main Button hole but only 4 mm width.
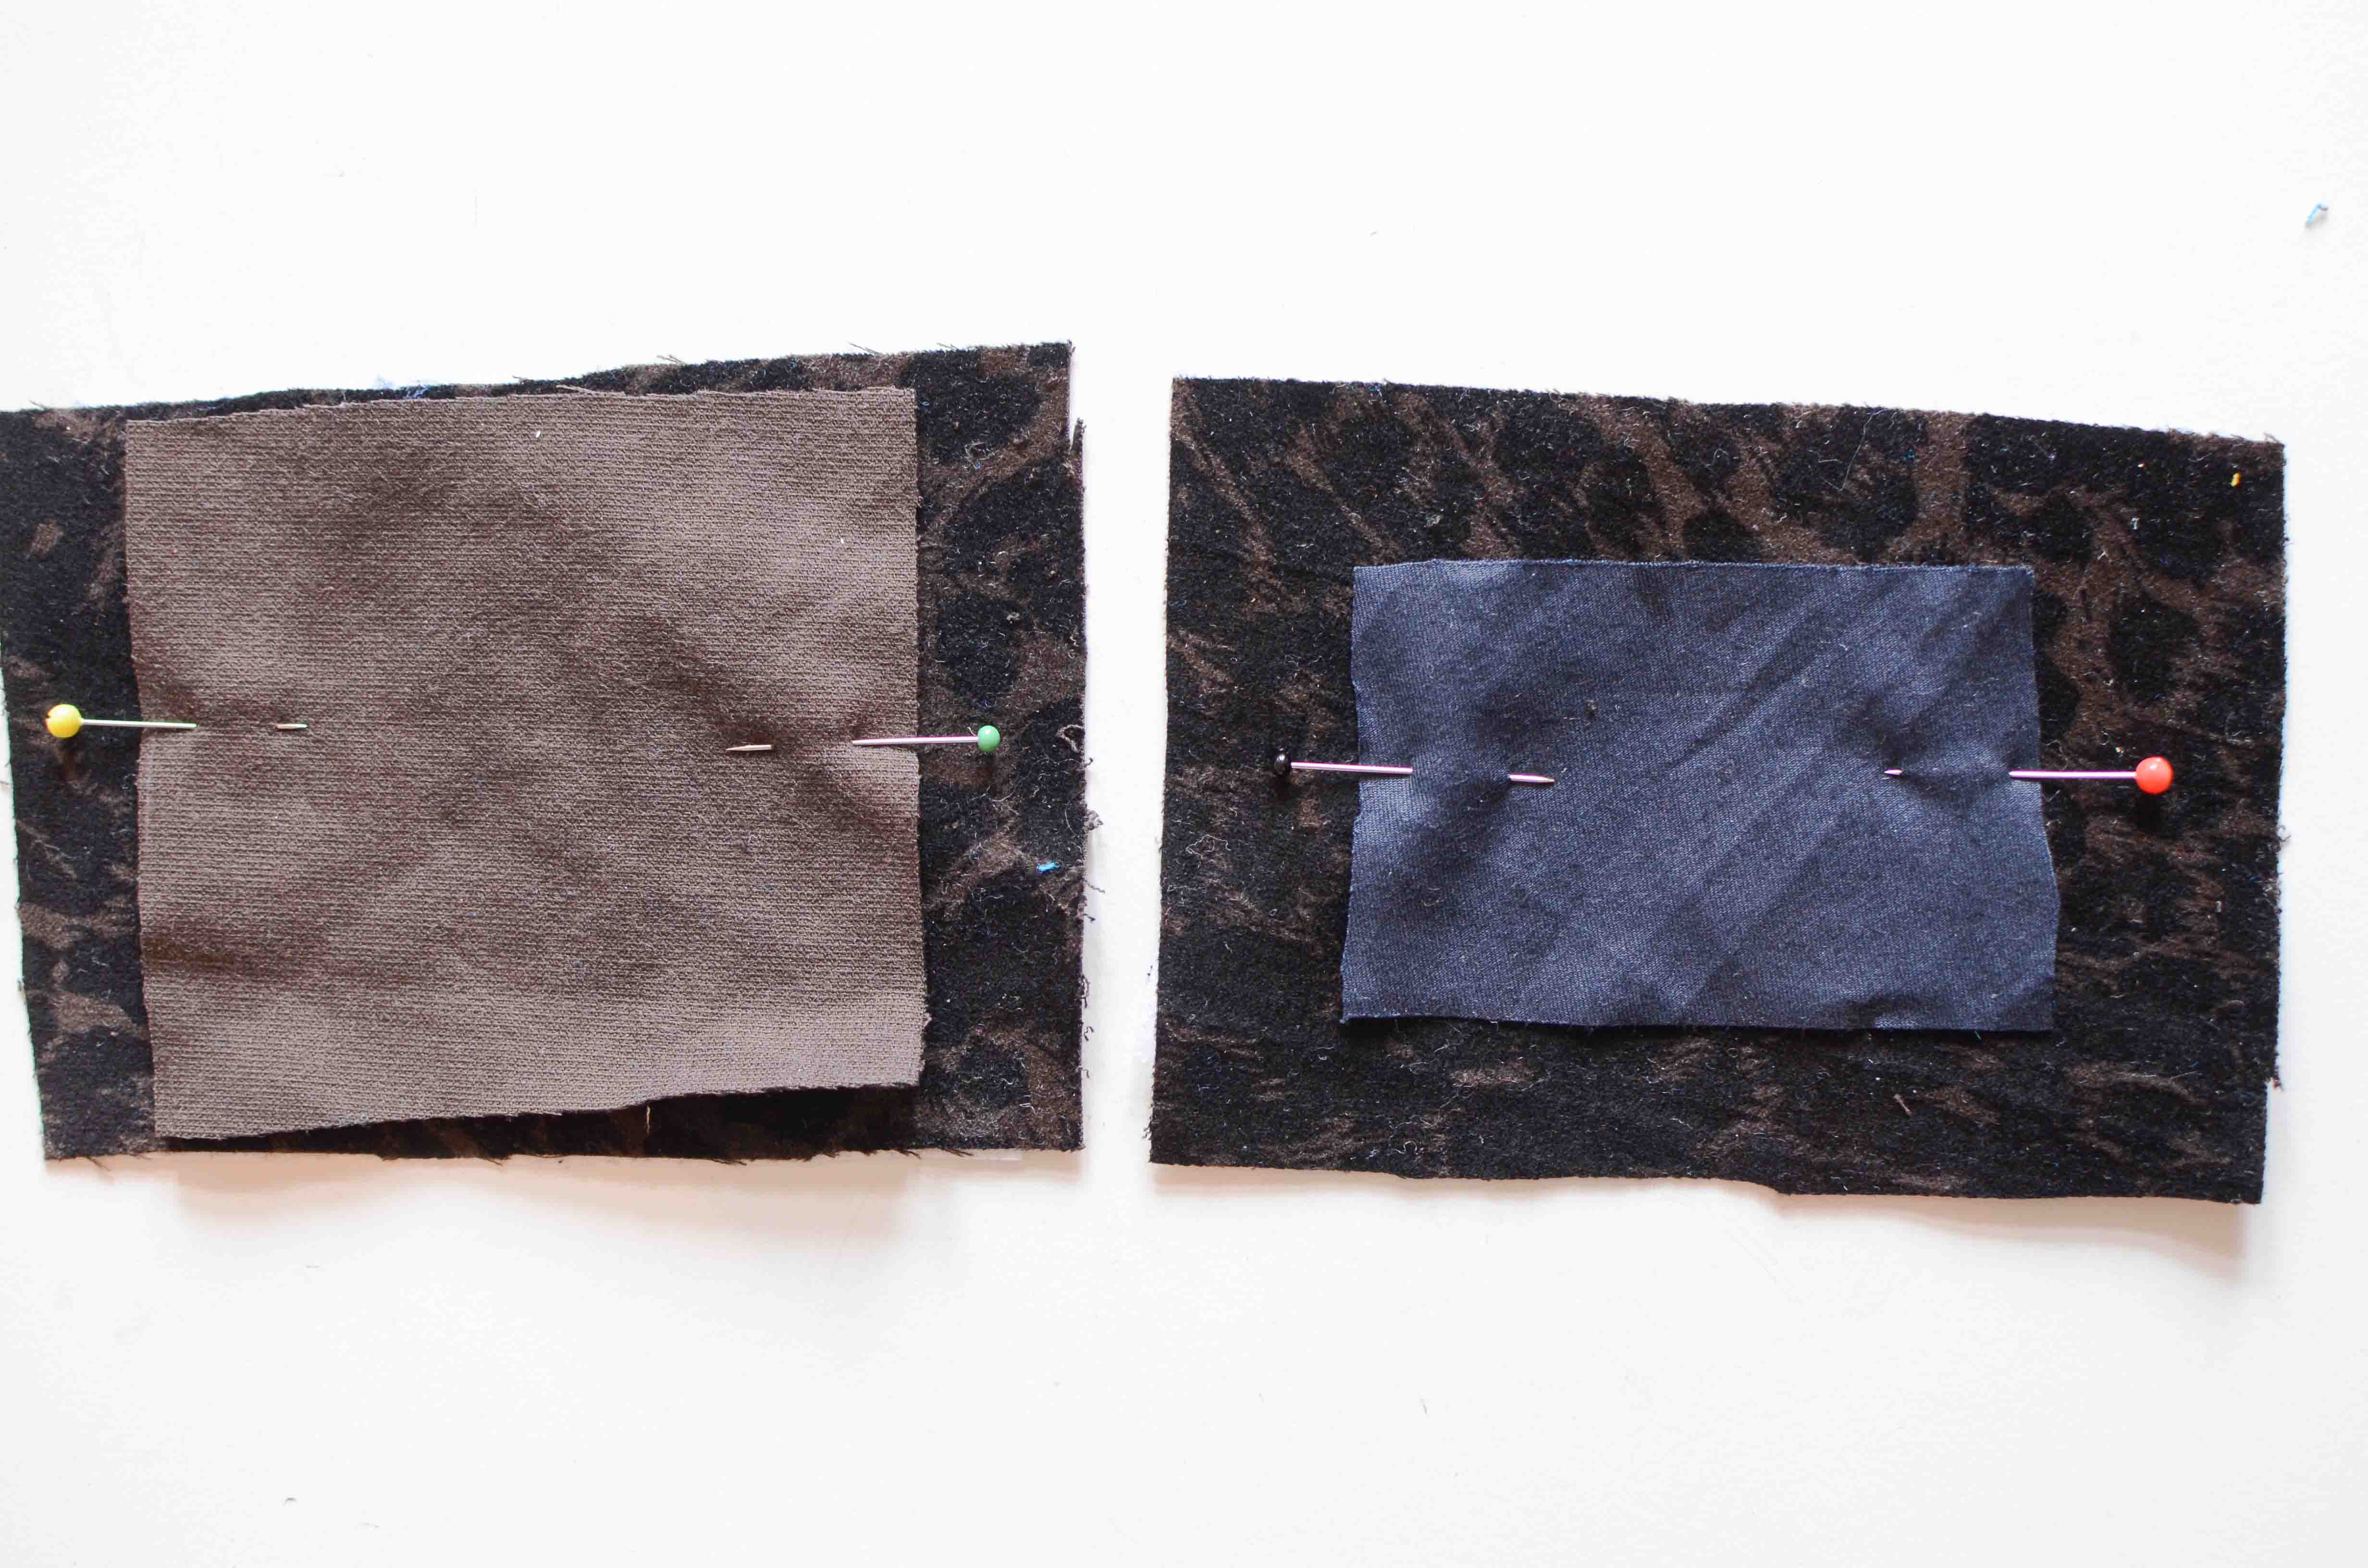
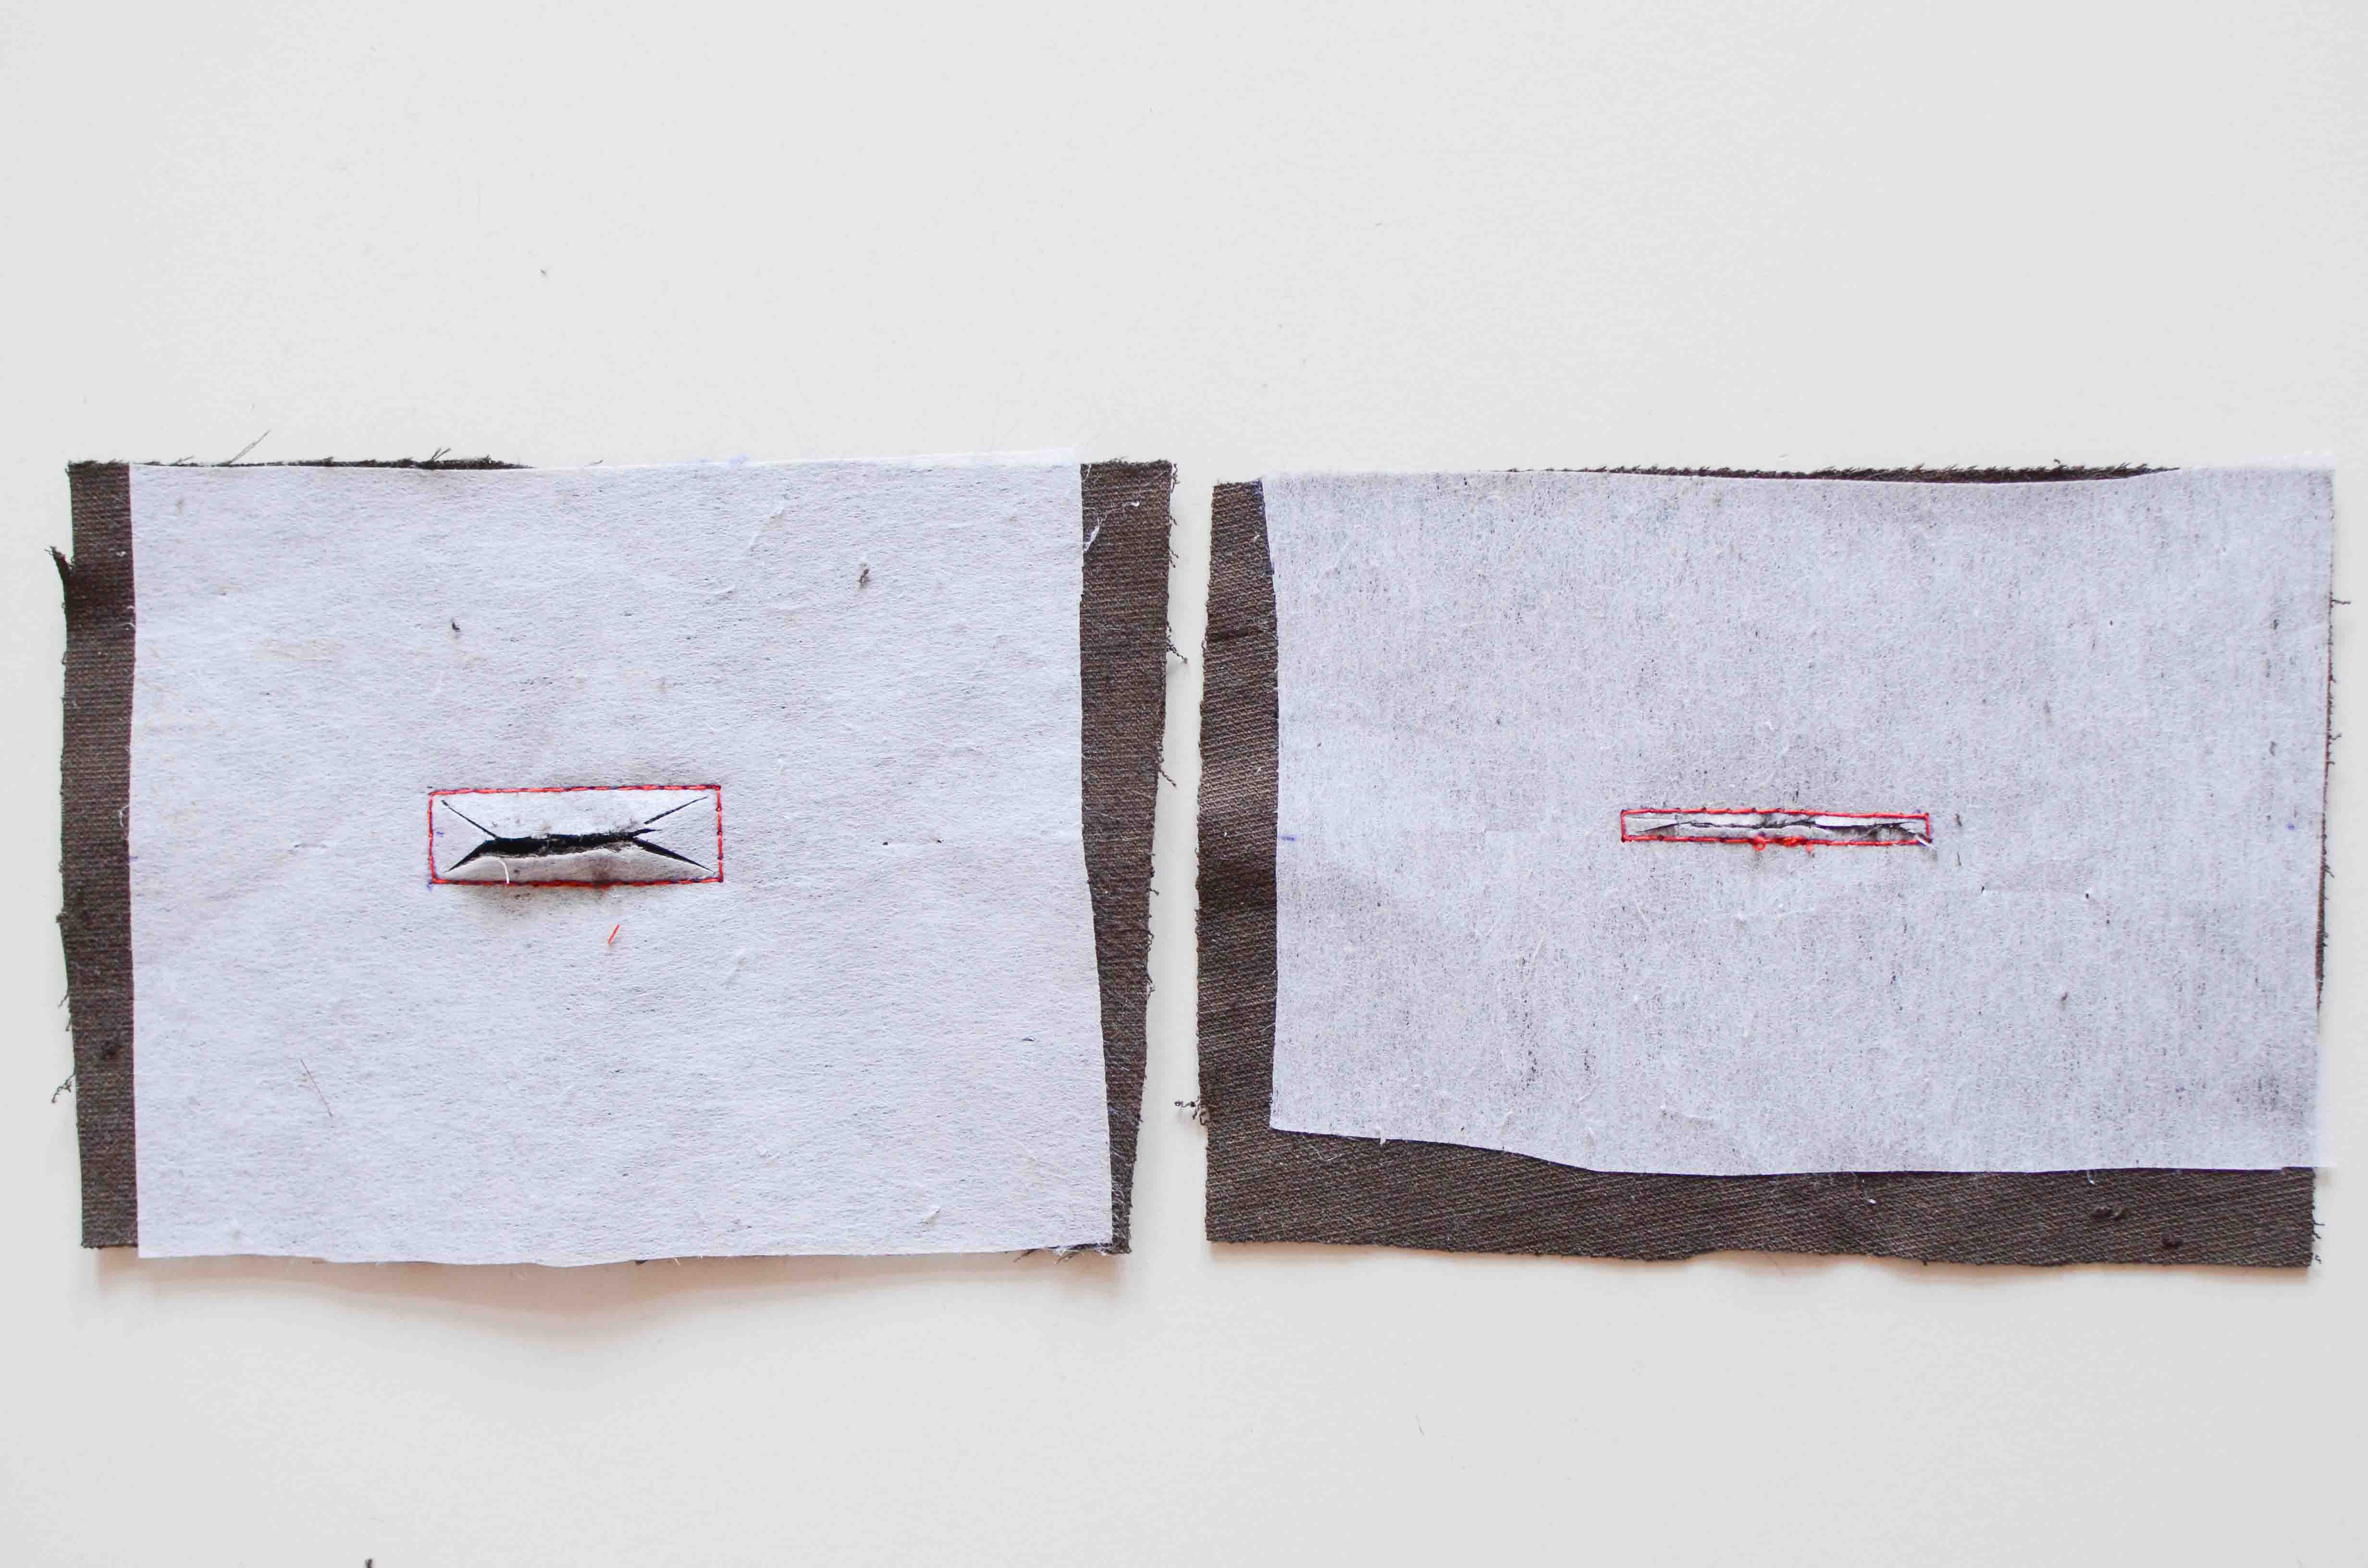
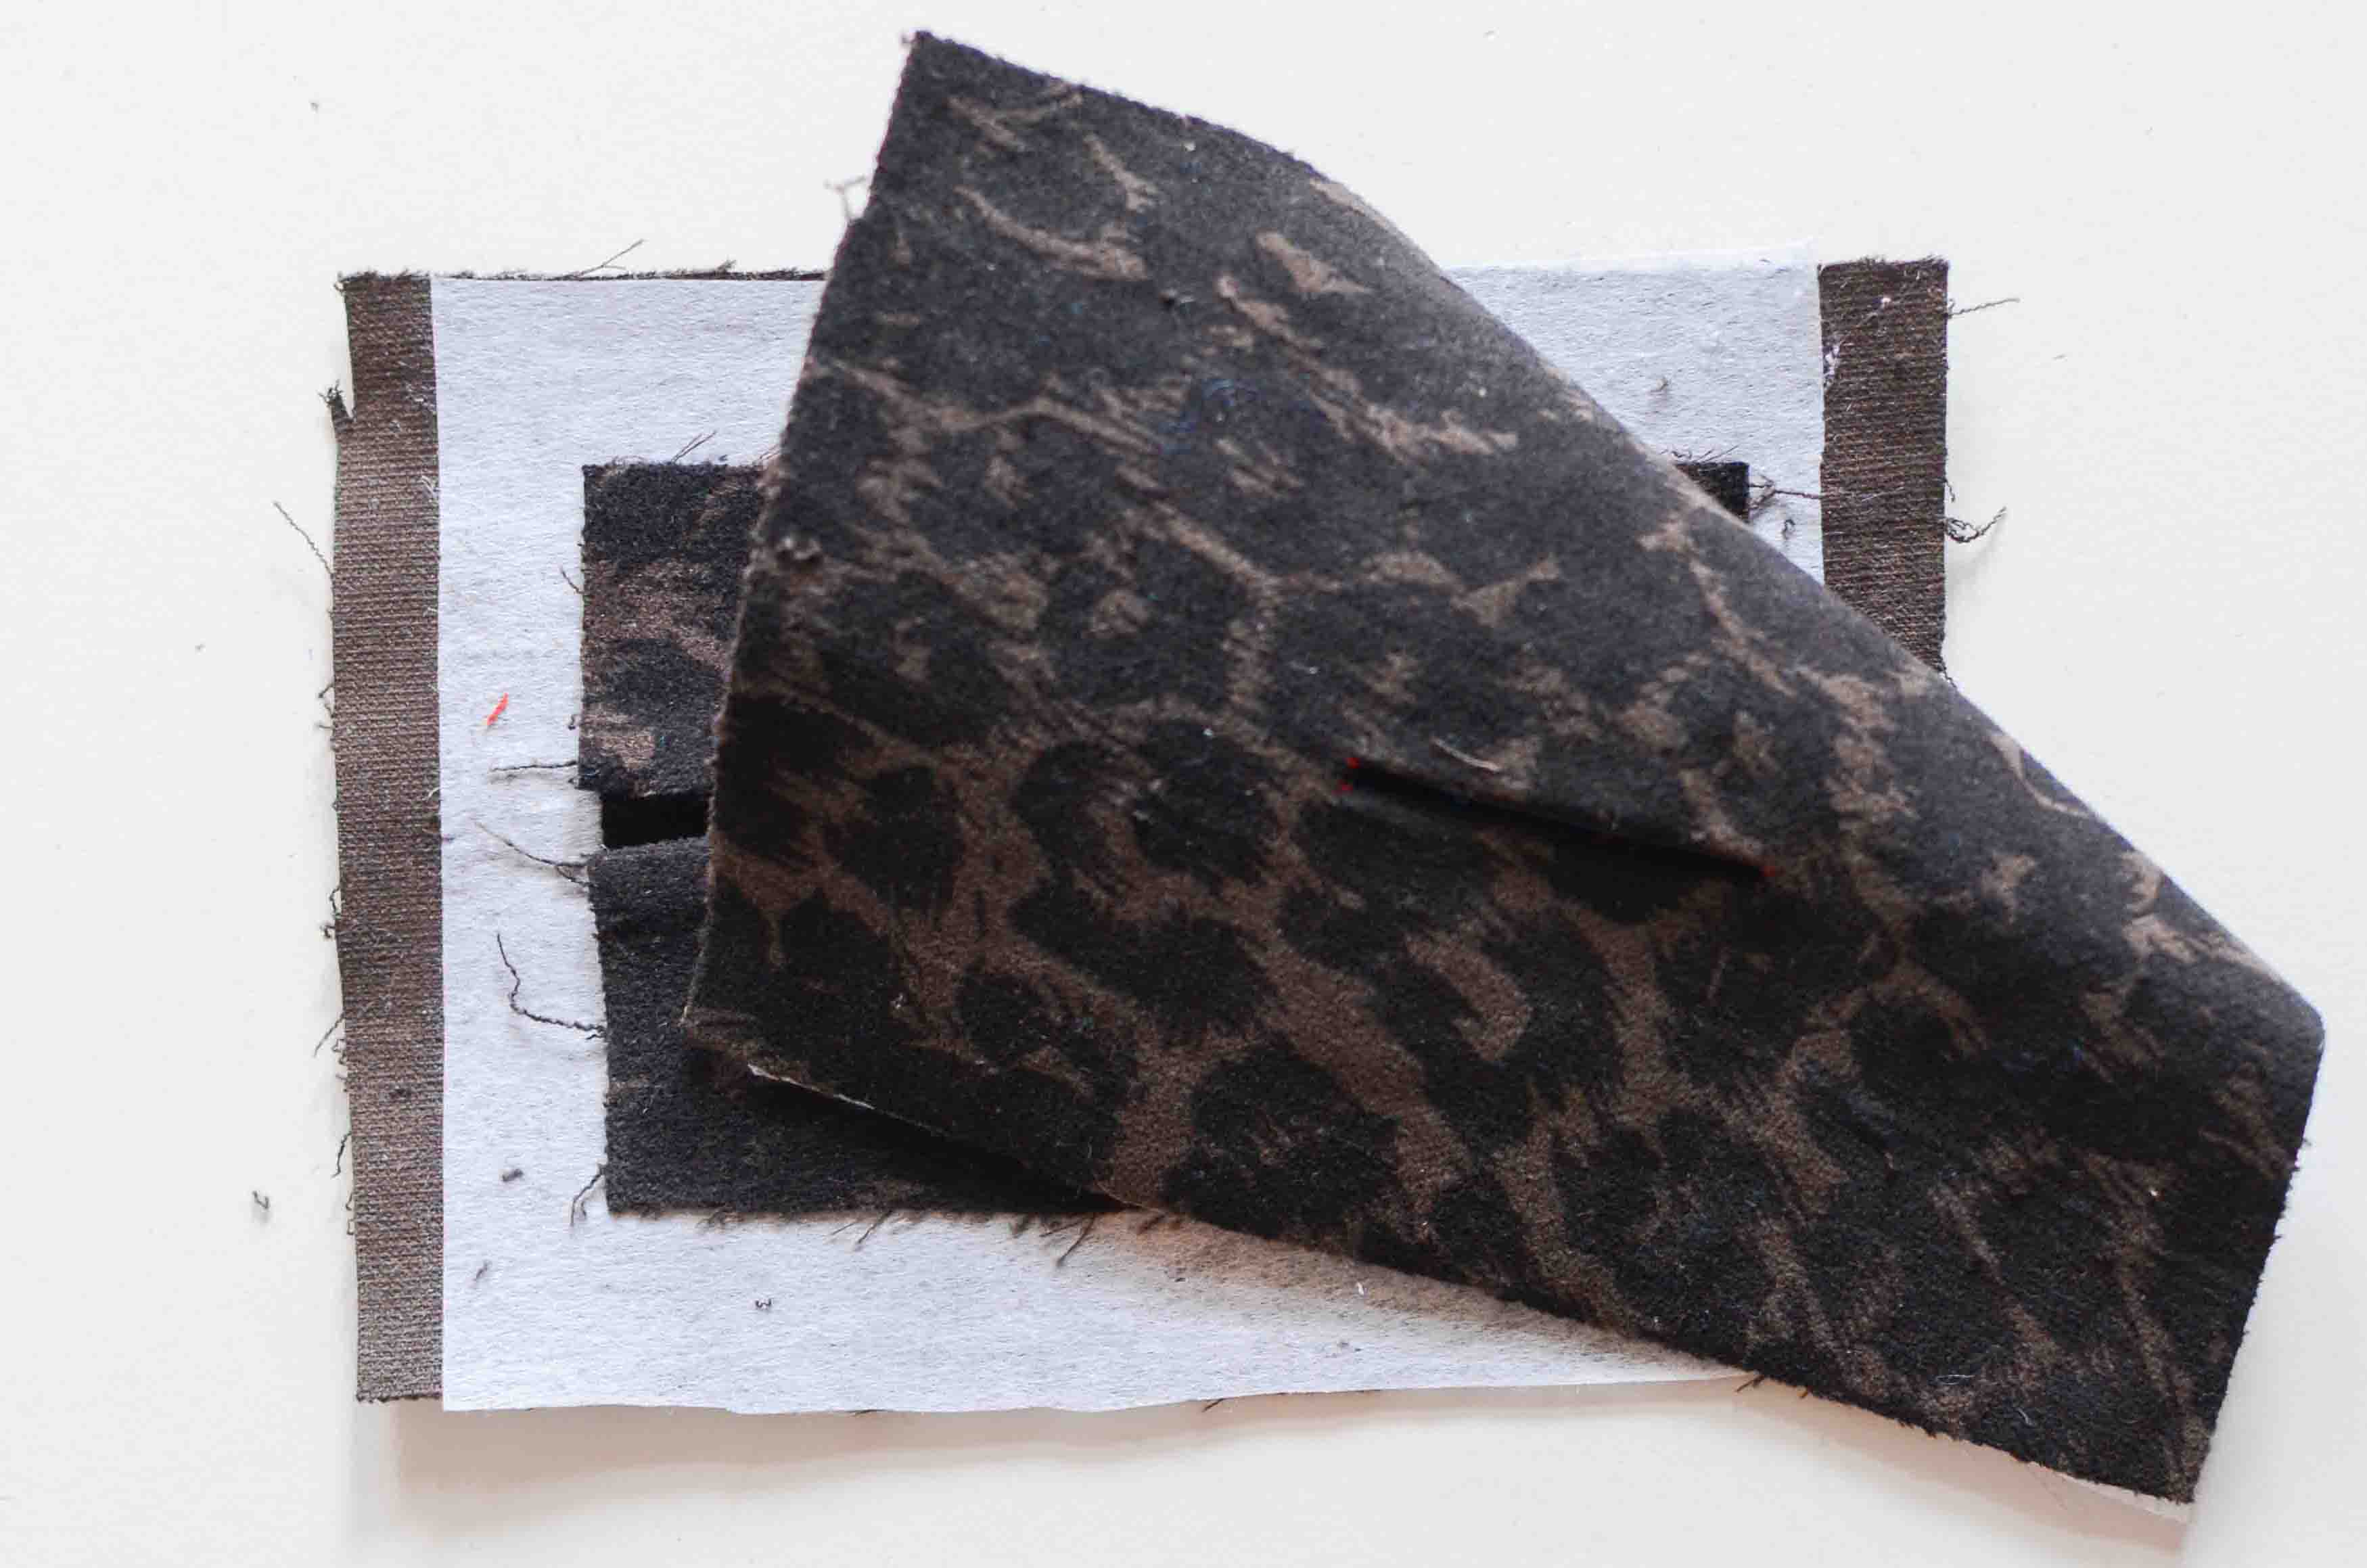
STEP 2
Cut a patch of the fabric which will compose the lips of the buttonhole. Around 2 cm longer and 6 cm wider that the buttonhole. We will trim the edges at the end so don’t worry too much about the size.
With right sides together, pin the patch centered over the buttonhole
Stitch using small stitches along the rectangle lines starting from a long side. Don’t back stitch.

STEP 3
Cut through both layers from the center and cut in V into the angles of the box. You have to cut the closest possible to the stitches without cutting them. You have to be very careful with this step!
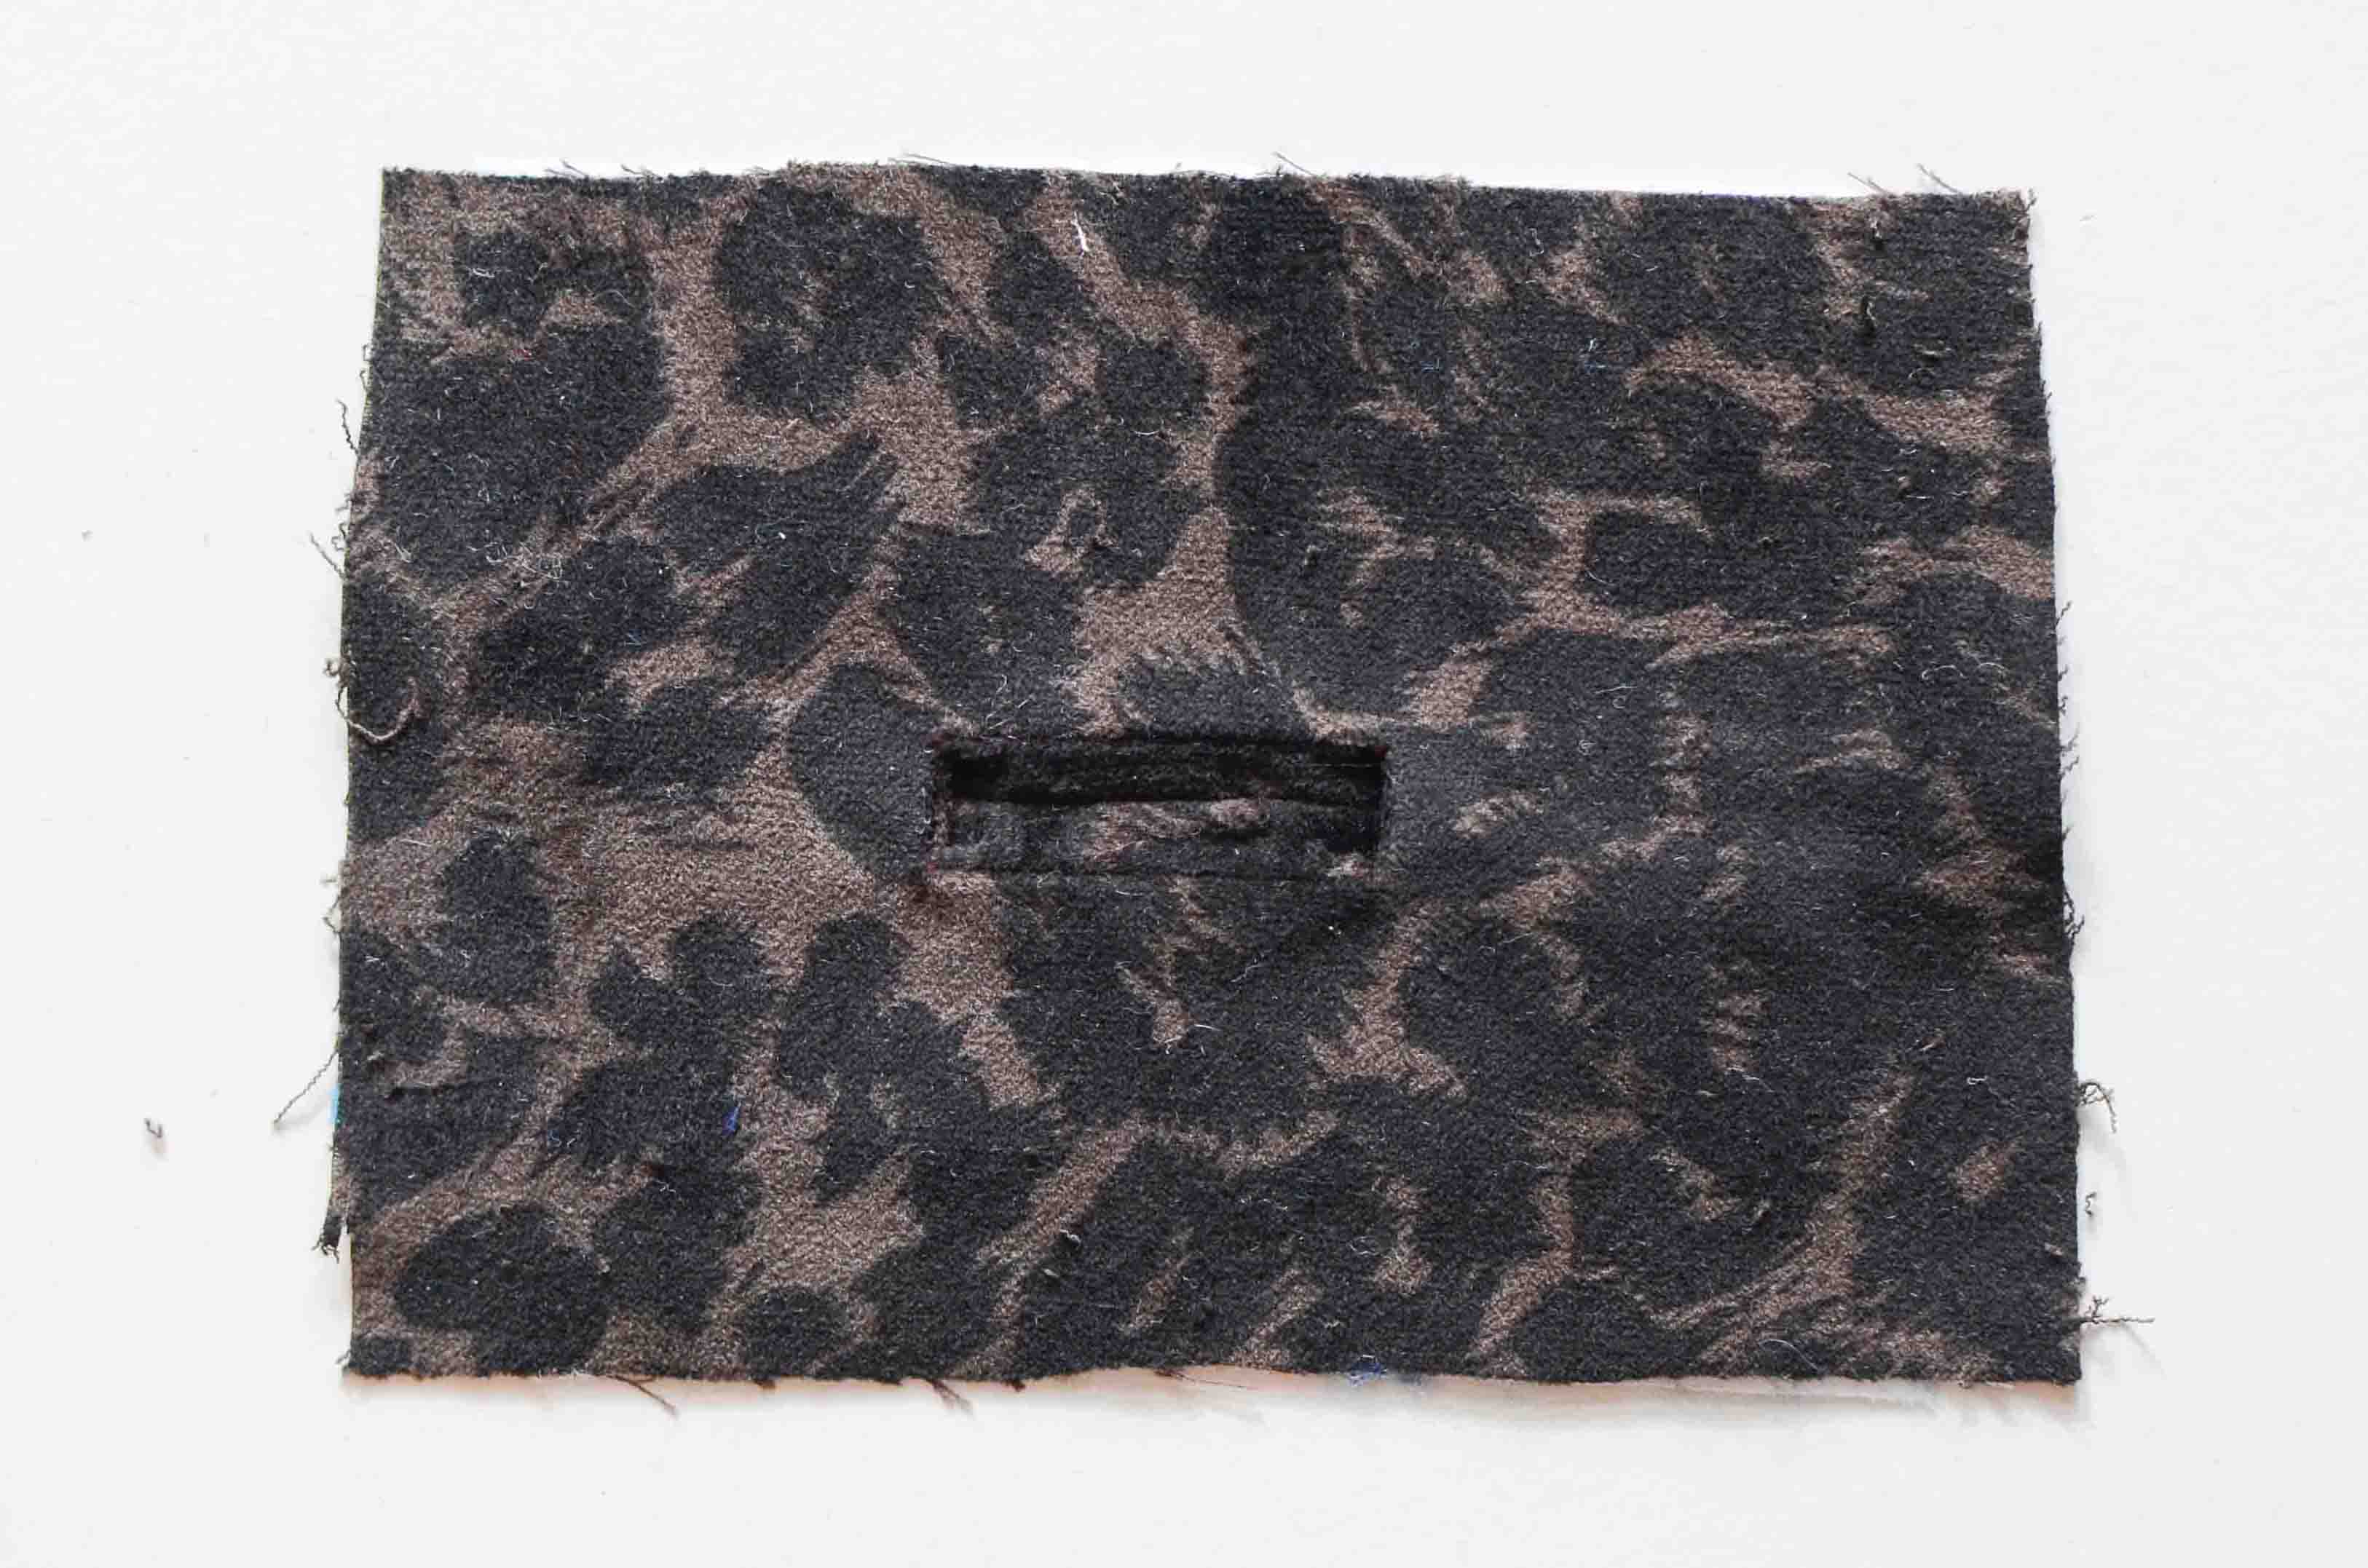
Pass the patch through the bound buttonhole box opening.
Work the corners until they will lay flat and press it. If the corners don’t lay flat, it’s because you haven’t cut close enough to the stitches.
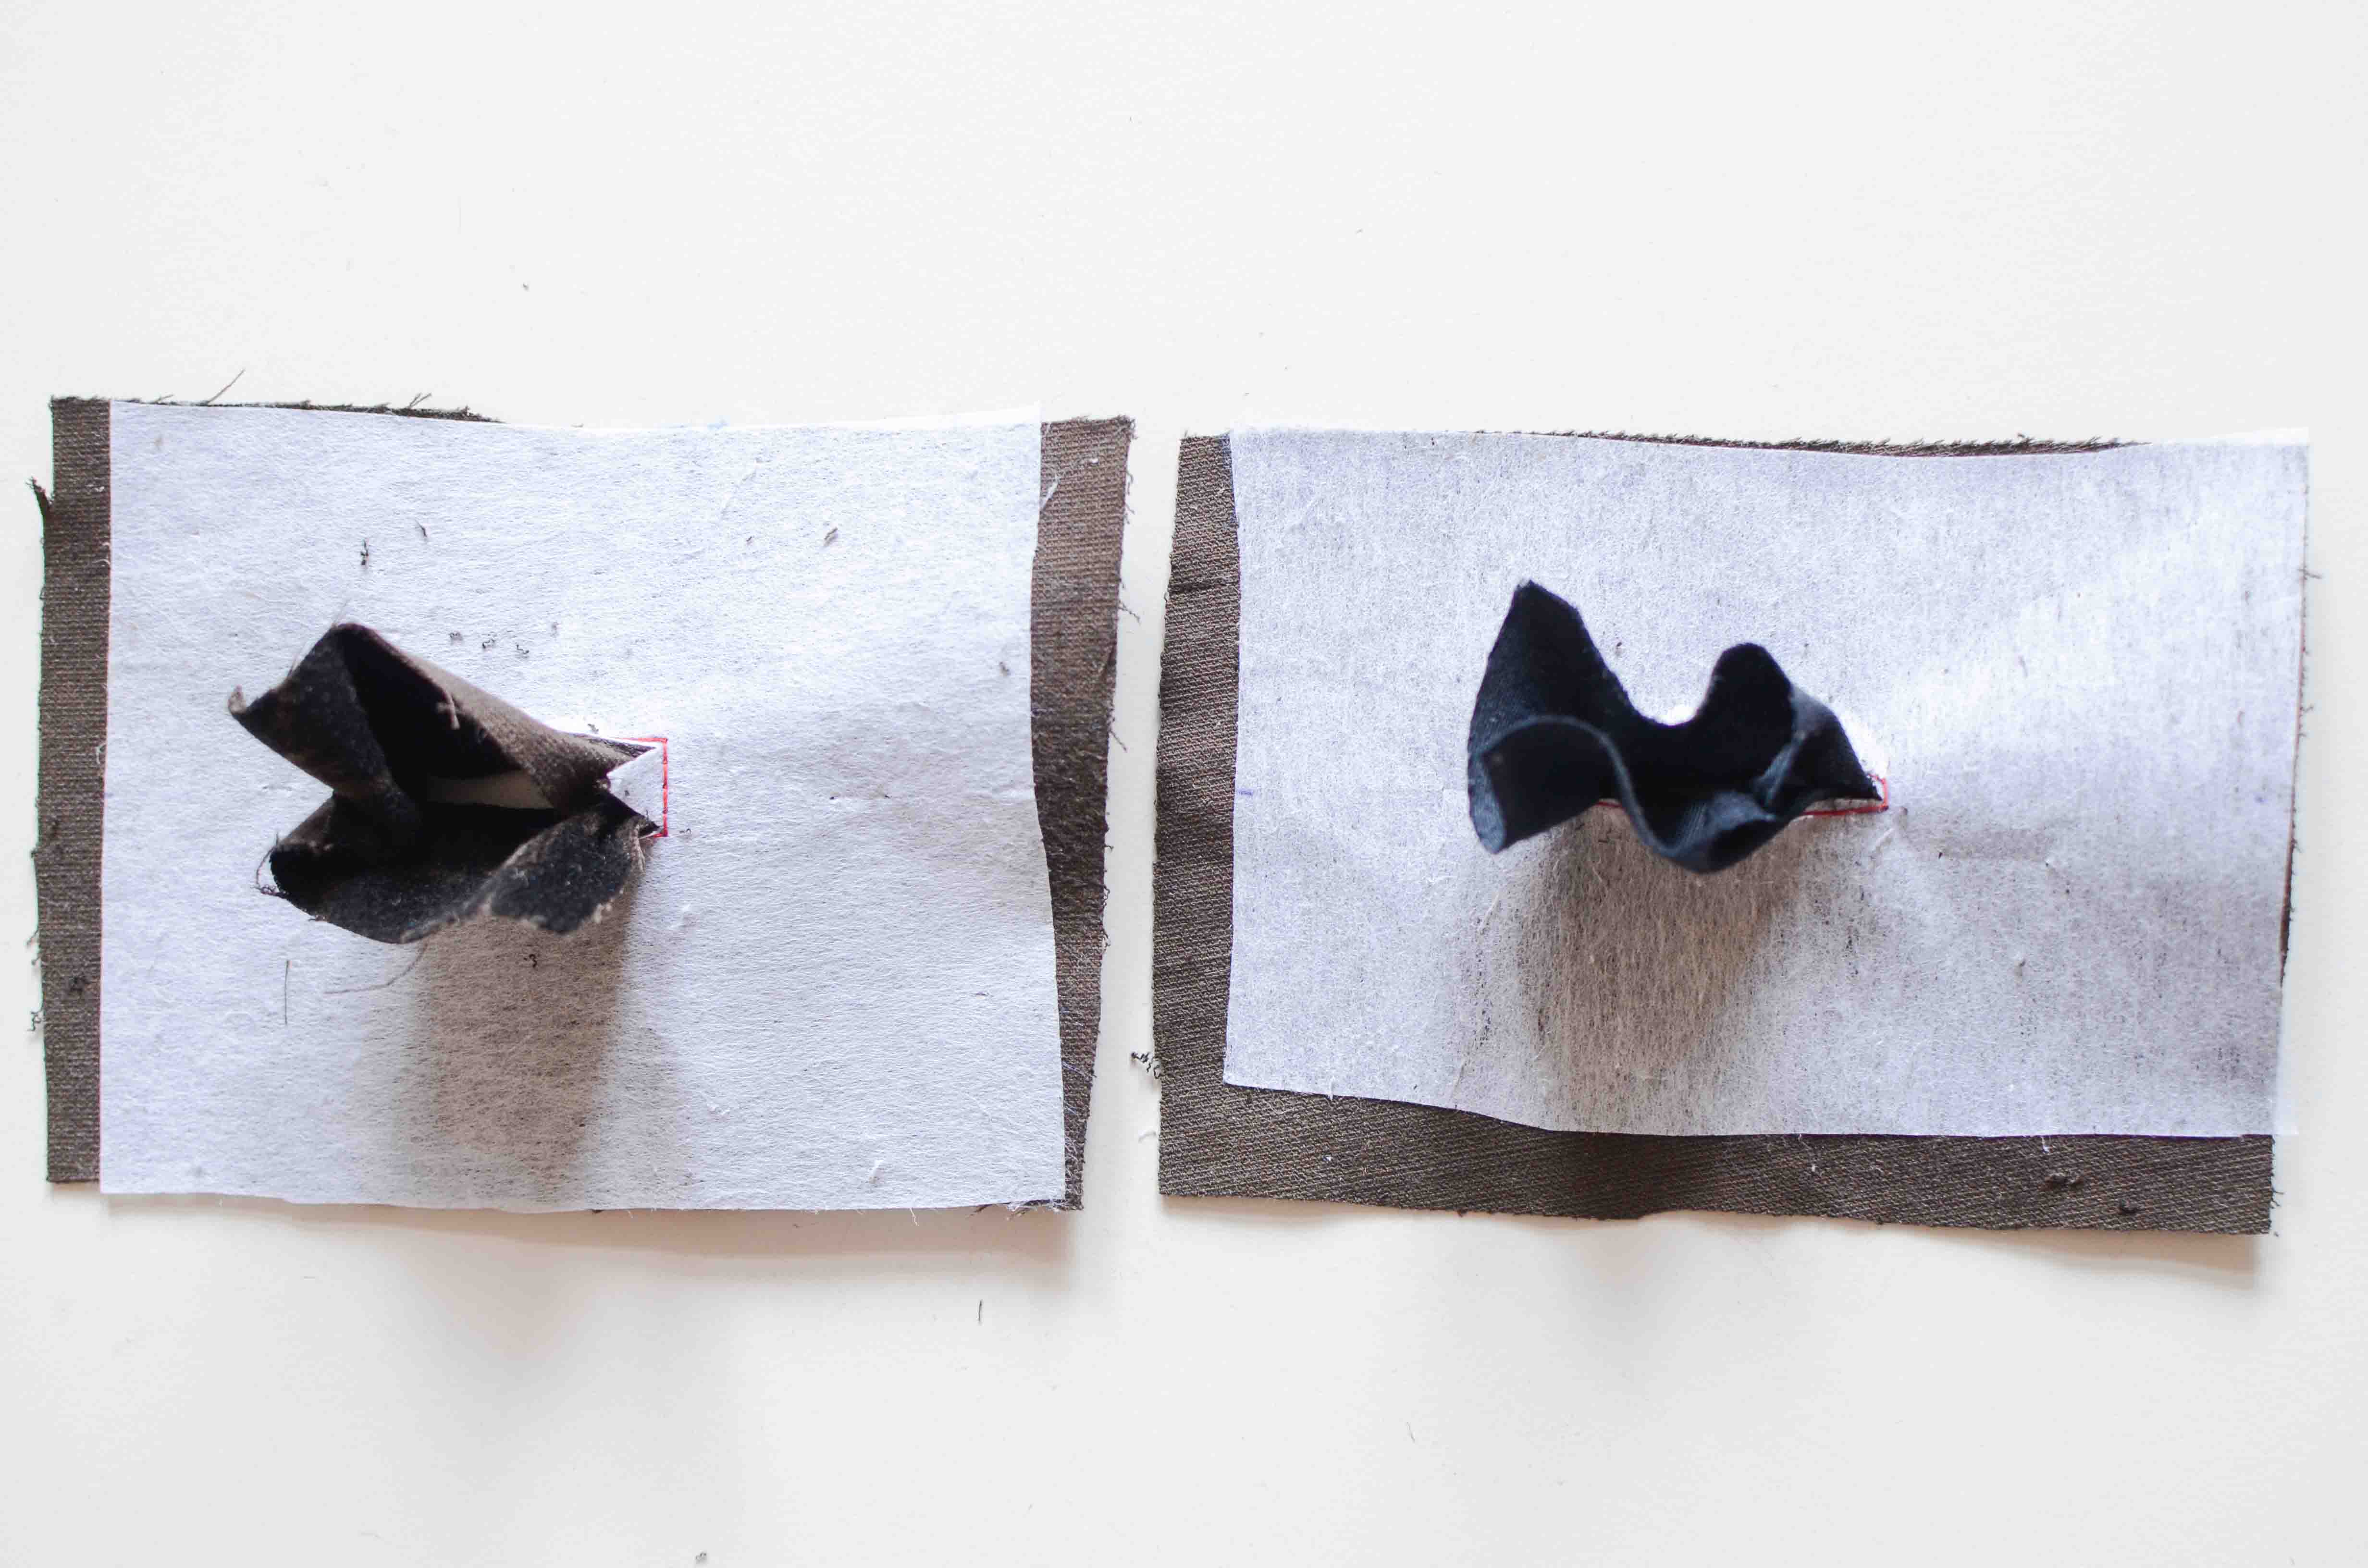
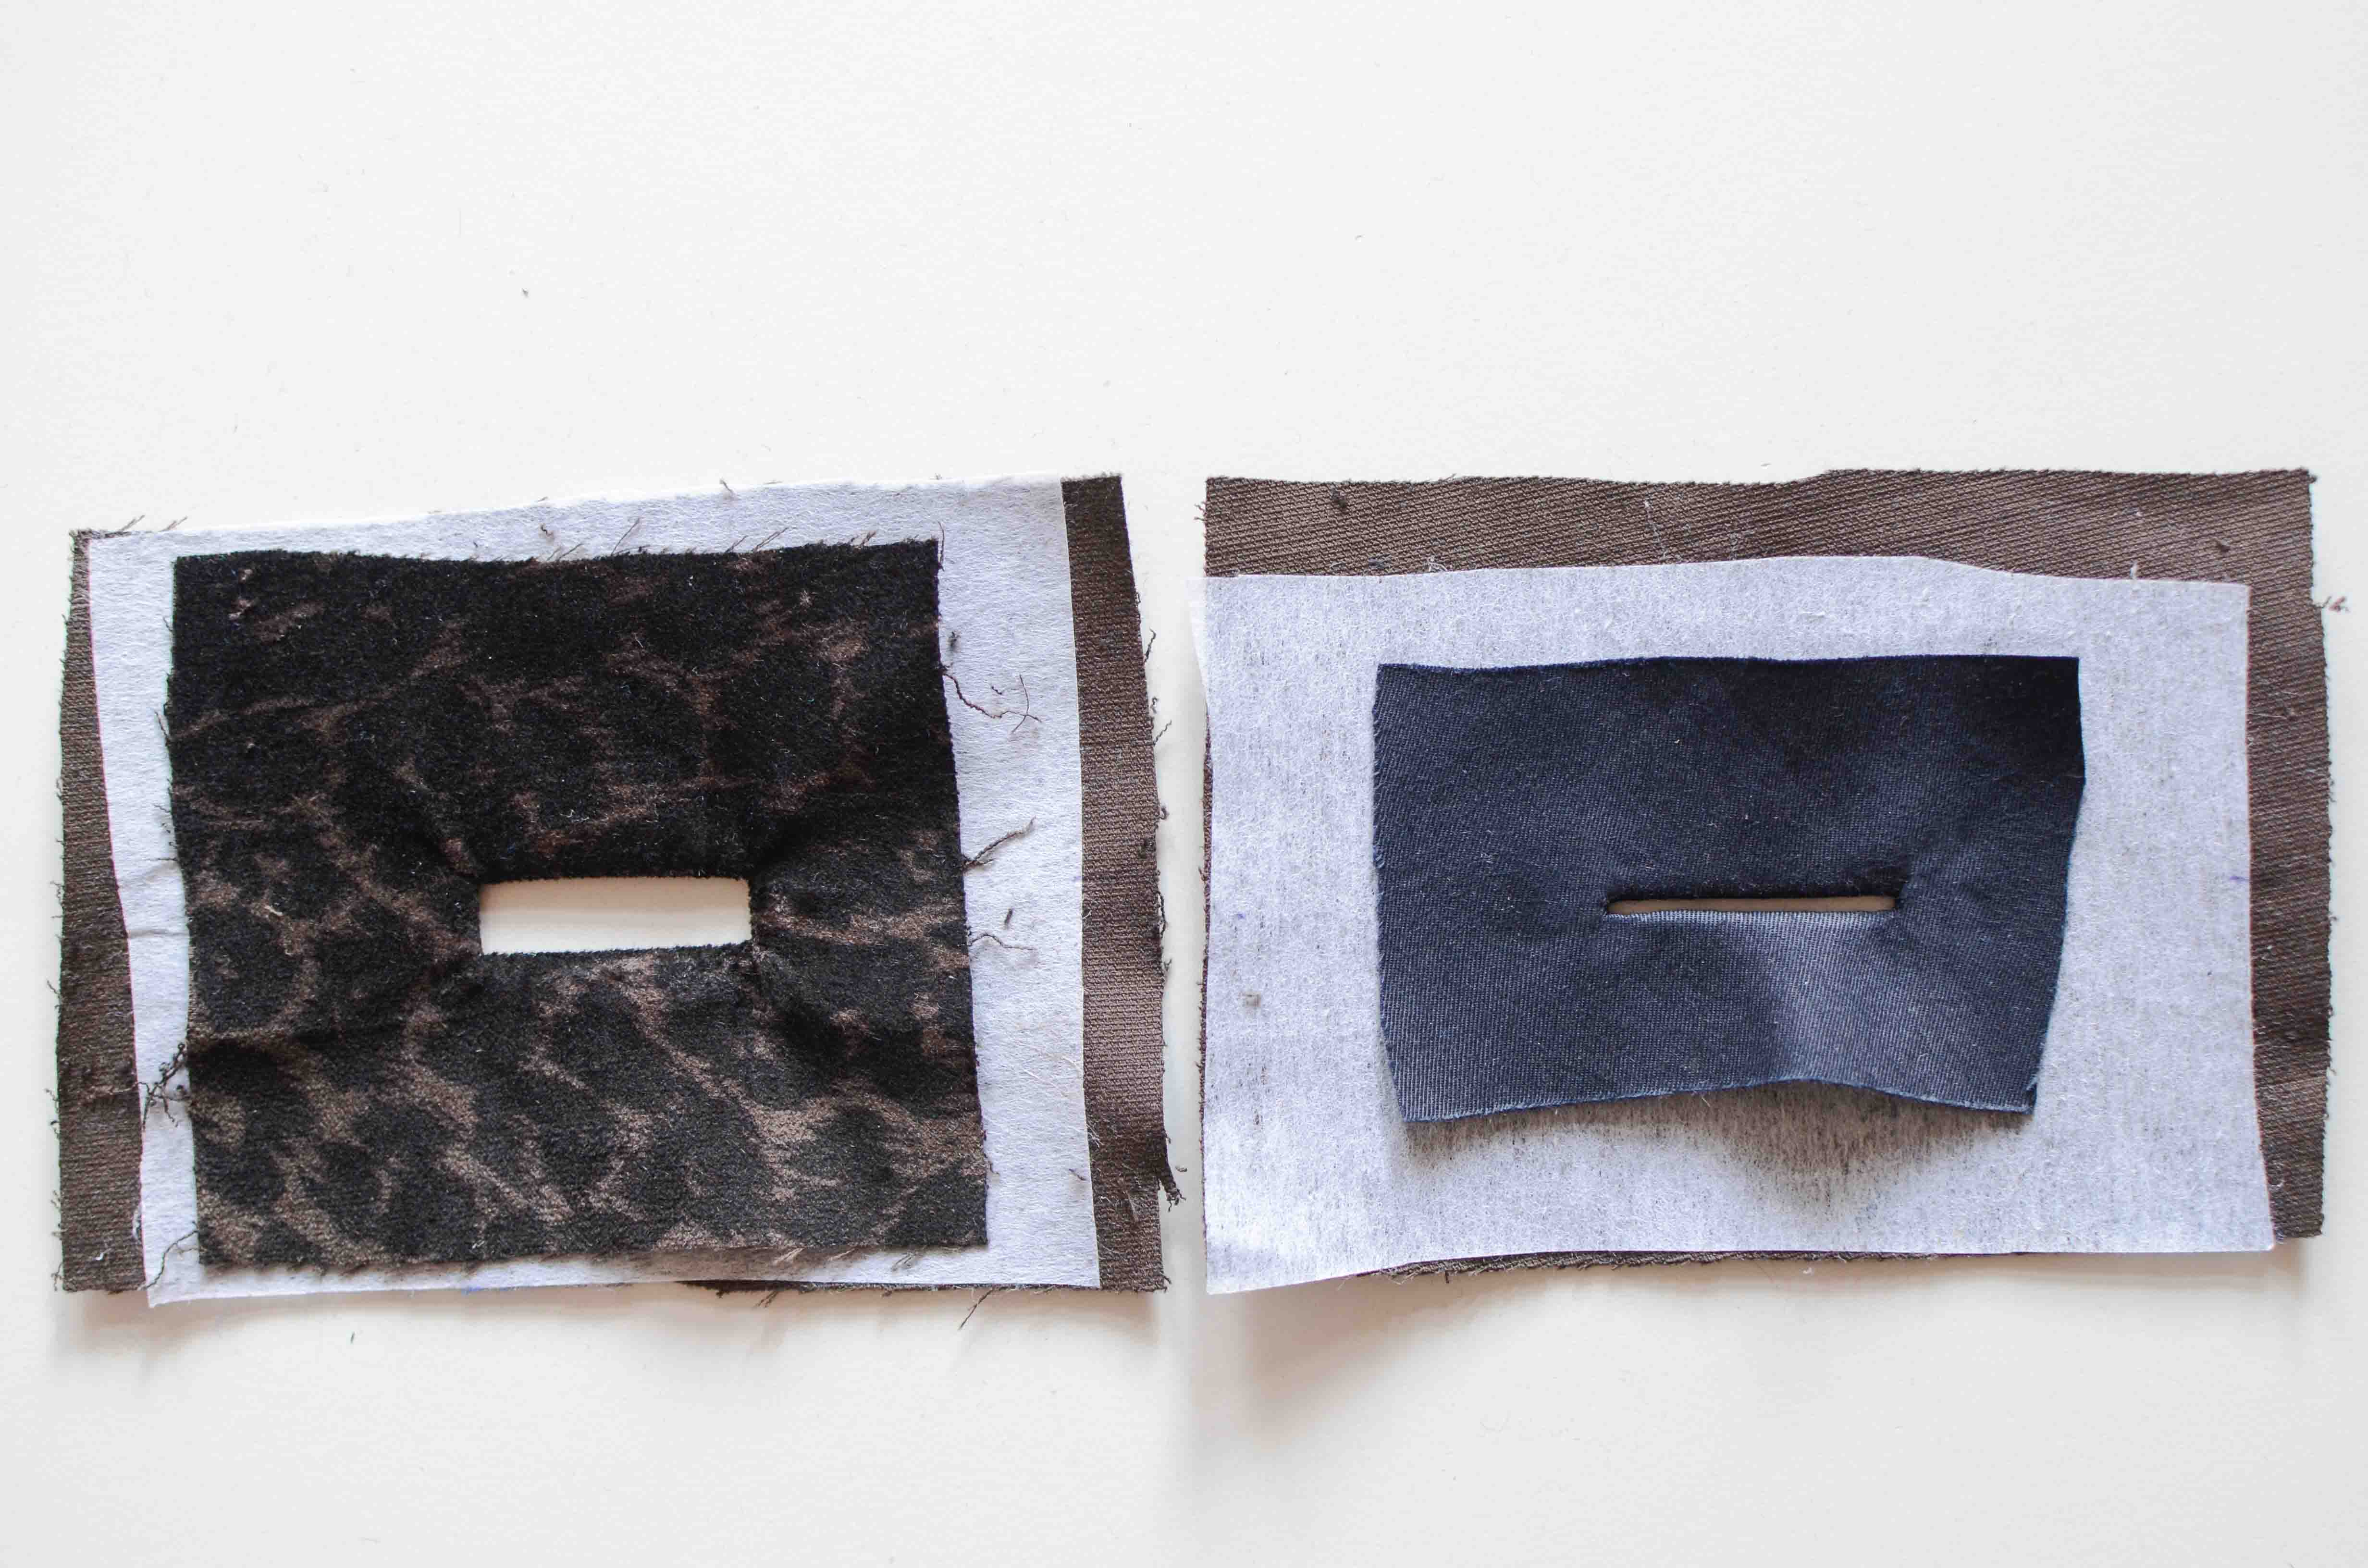
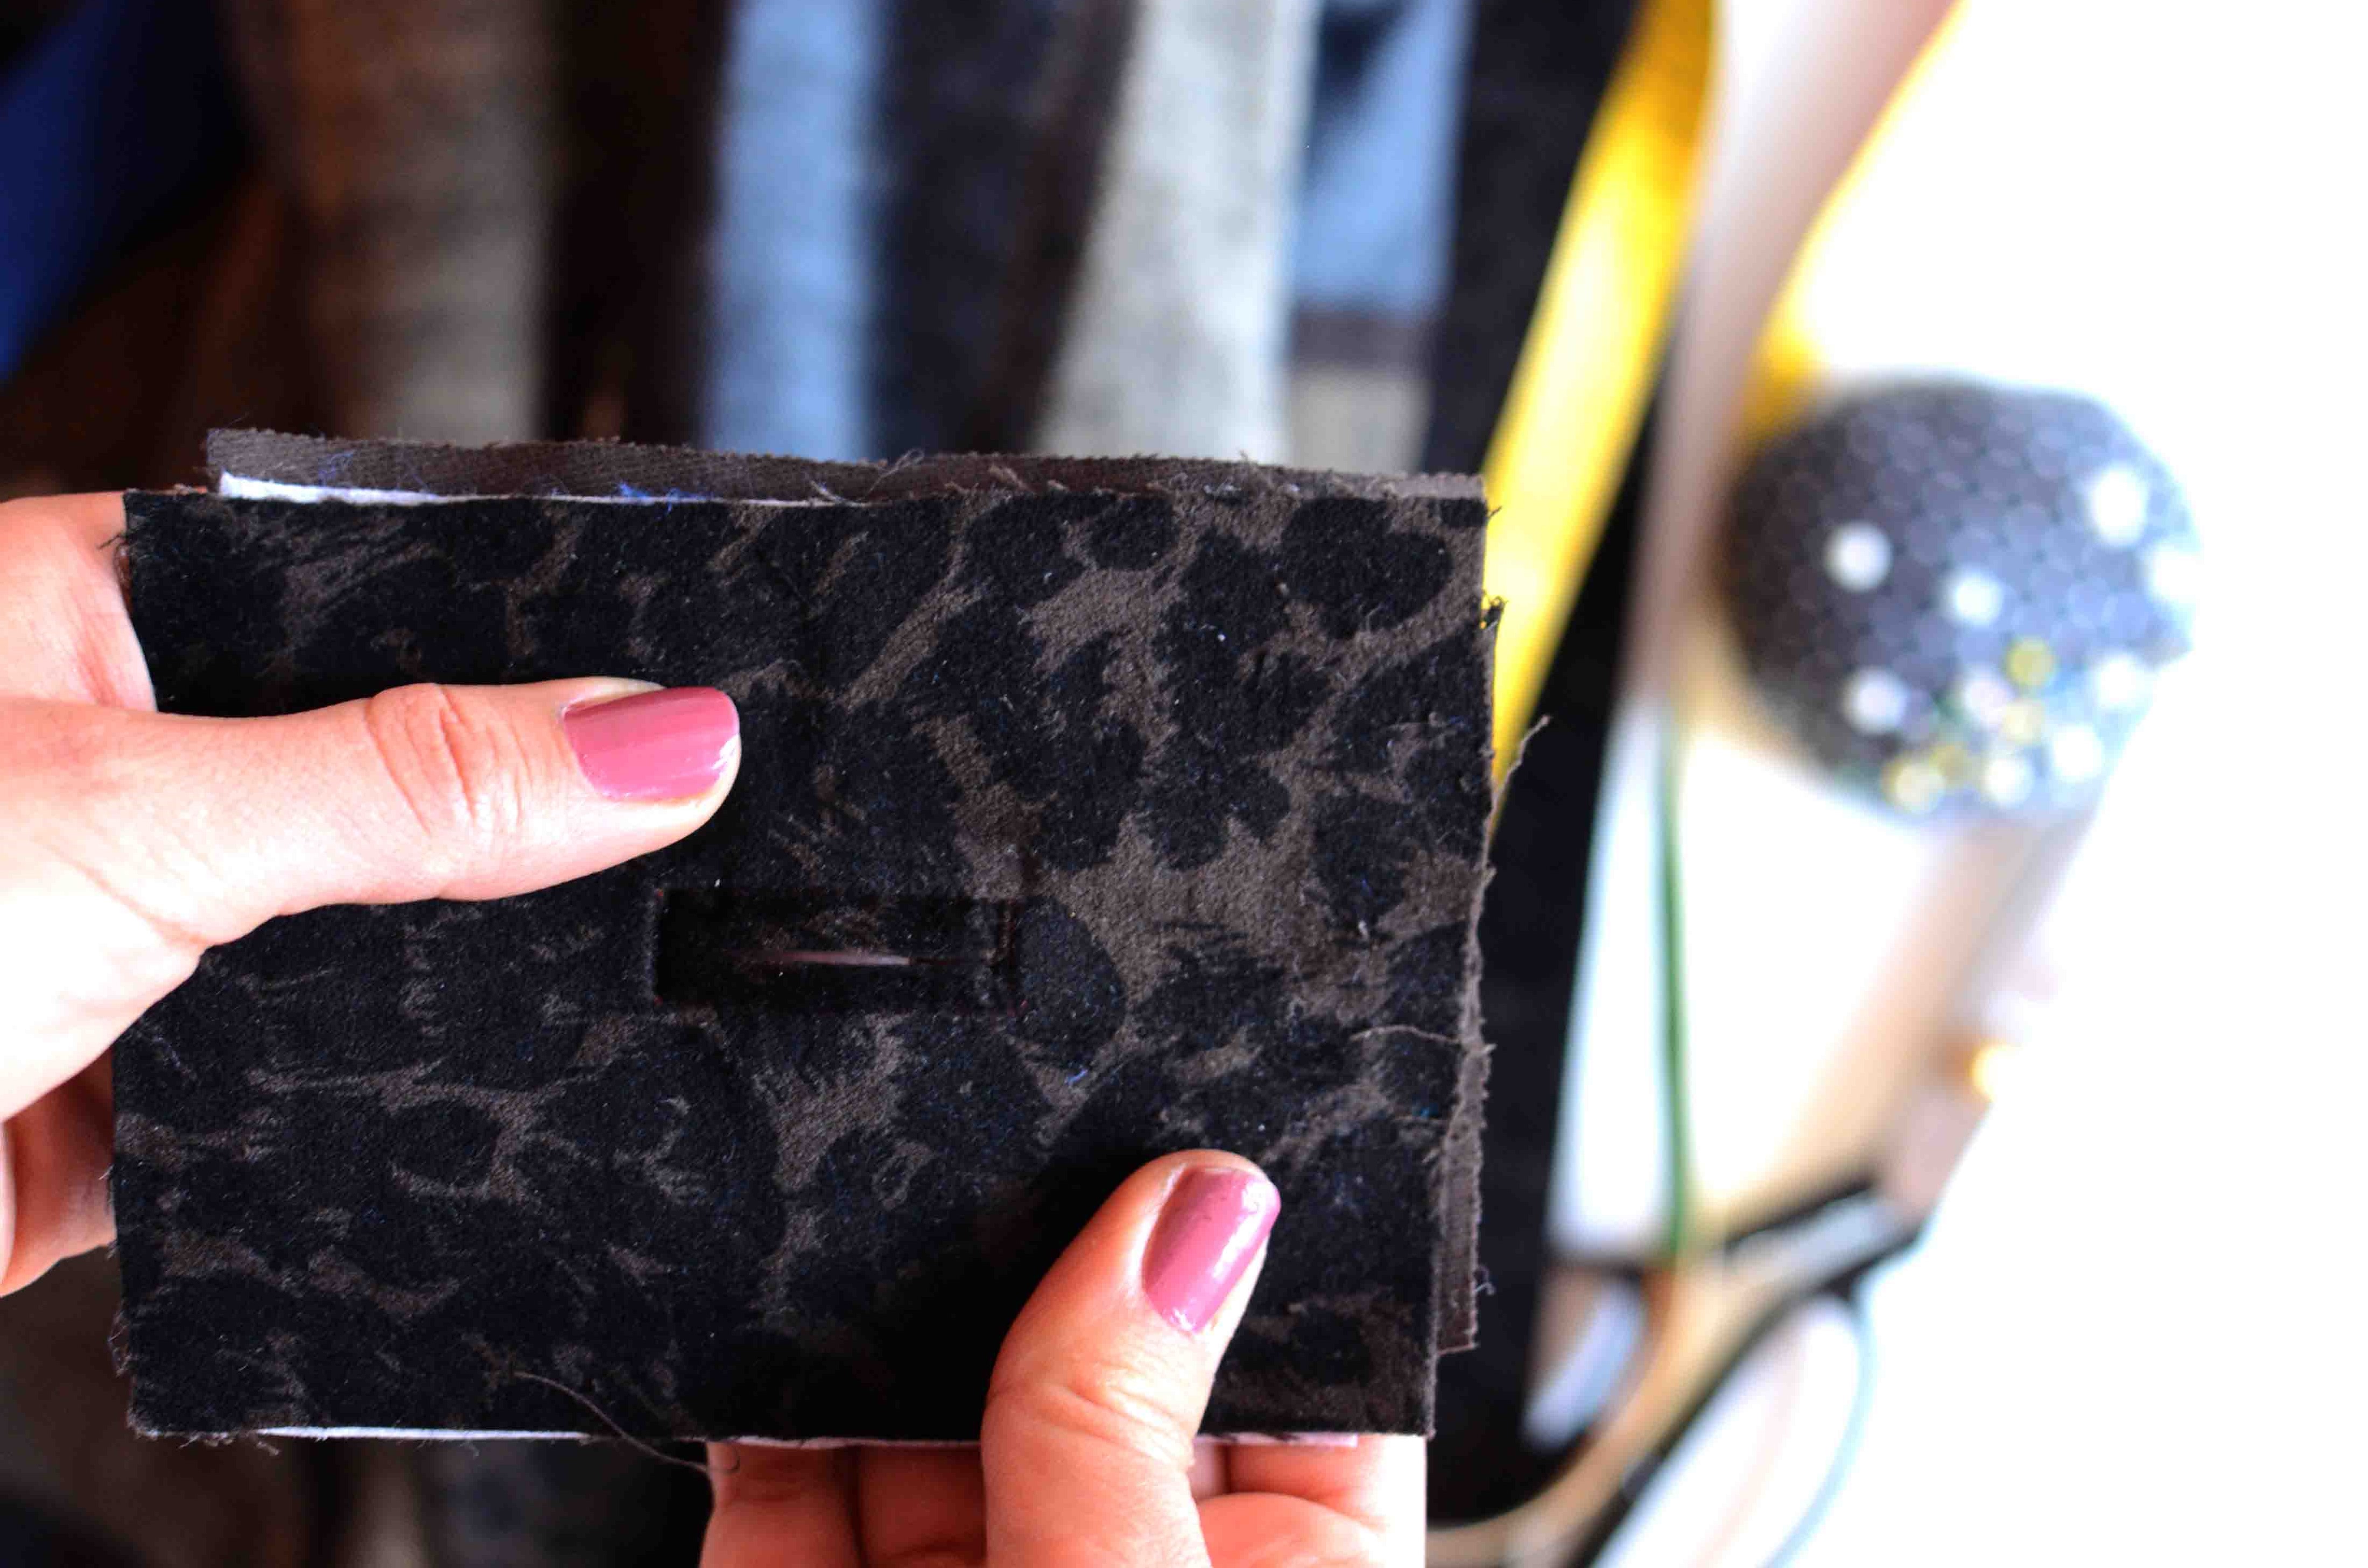
The lining is ready! let’s continue with the main Buttonhole.
STEP 4
Fold the patch in two so that it forms the “lips” of the buttonhole. The fold should reach the center of the box. Pin in place.
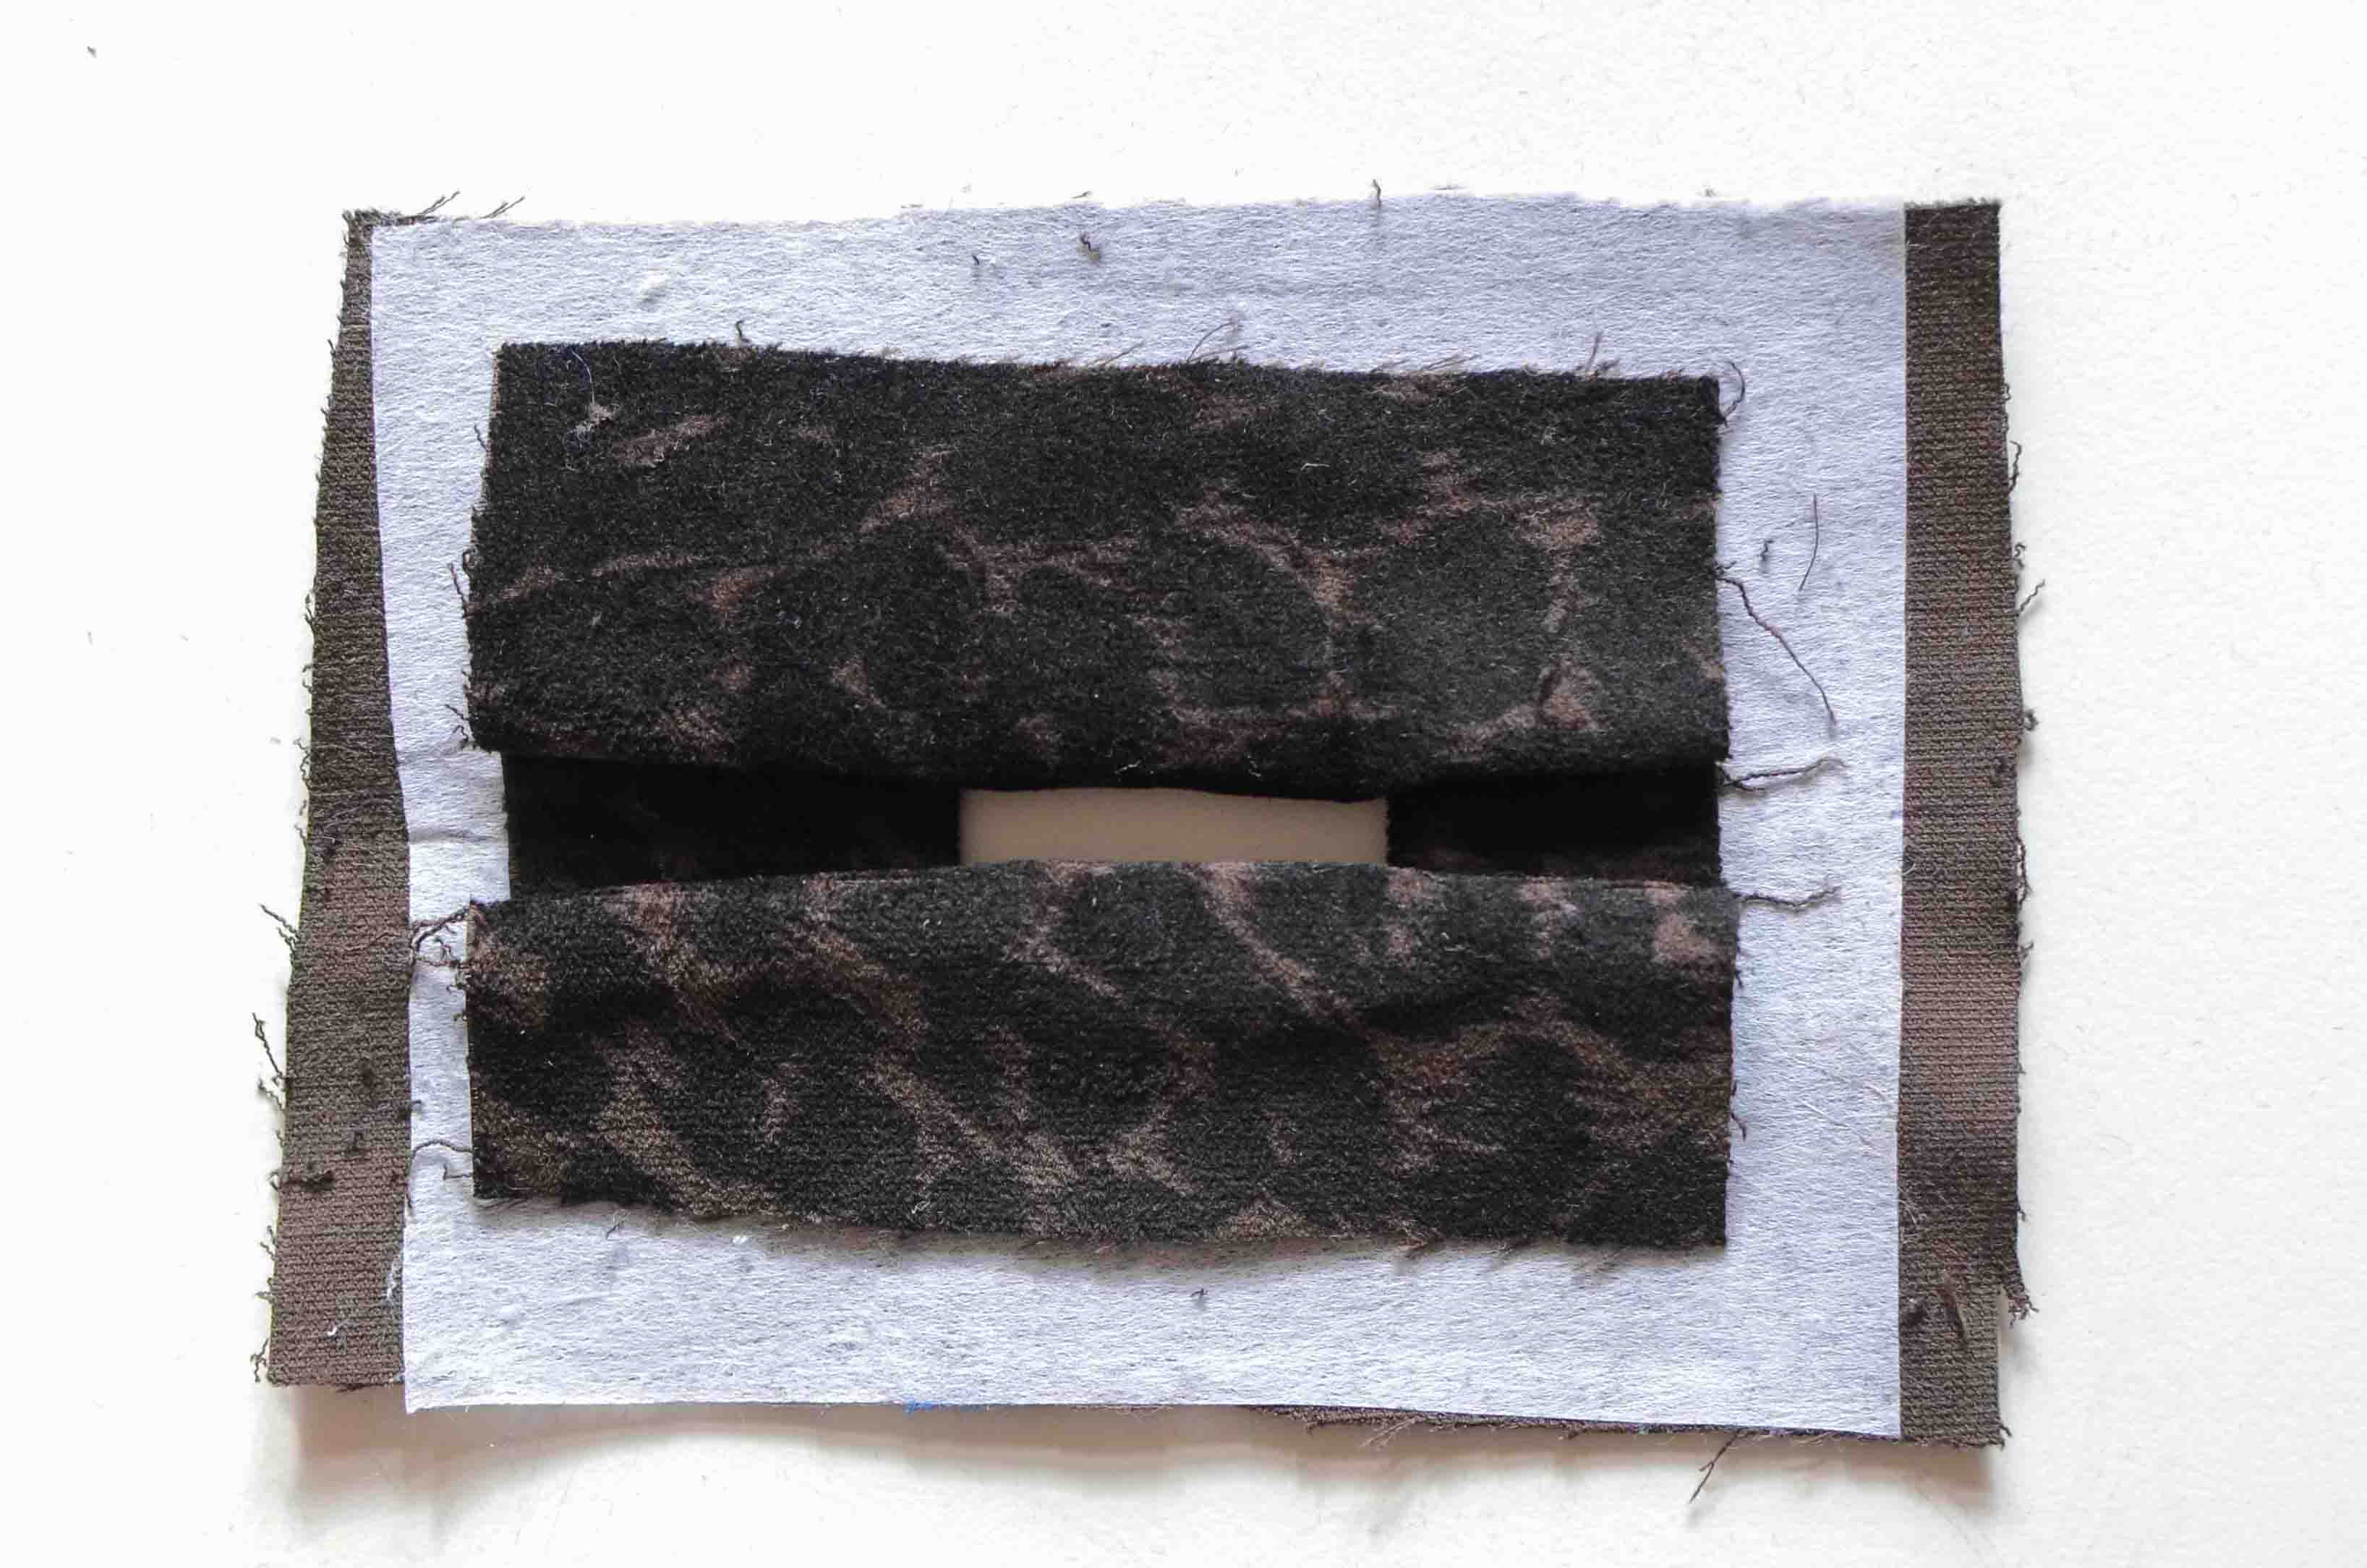
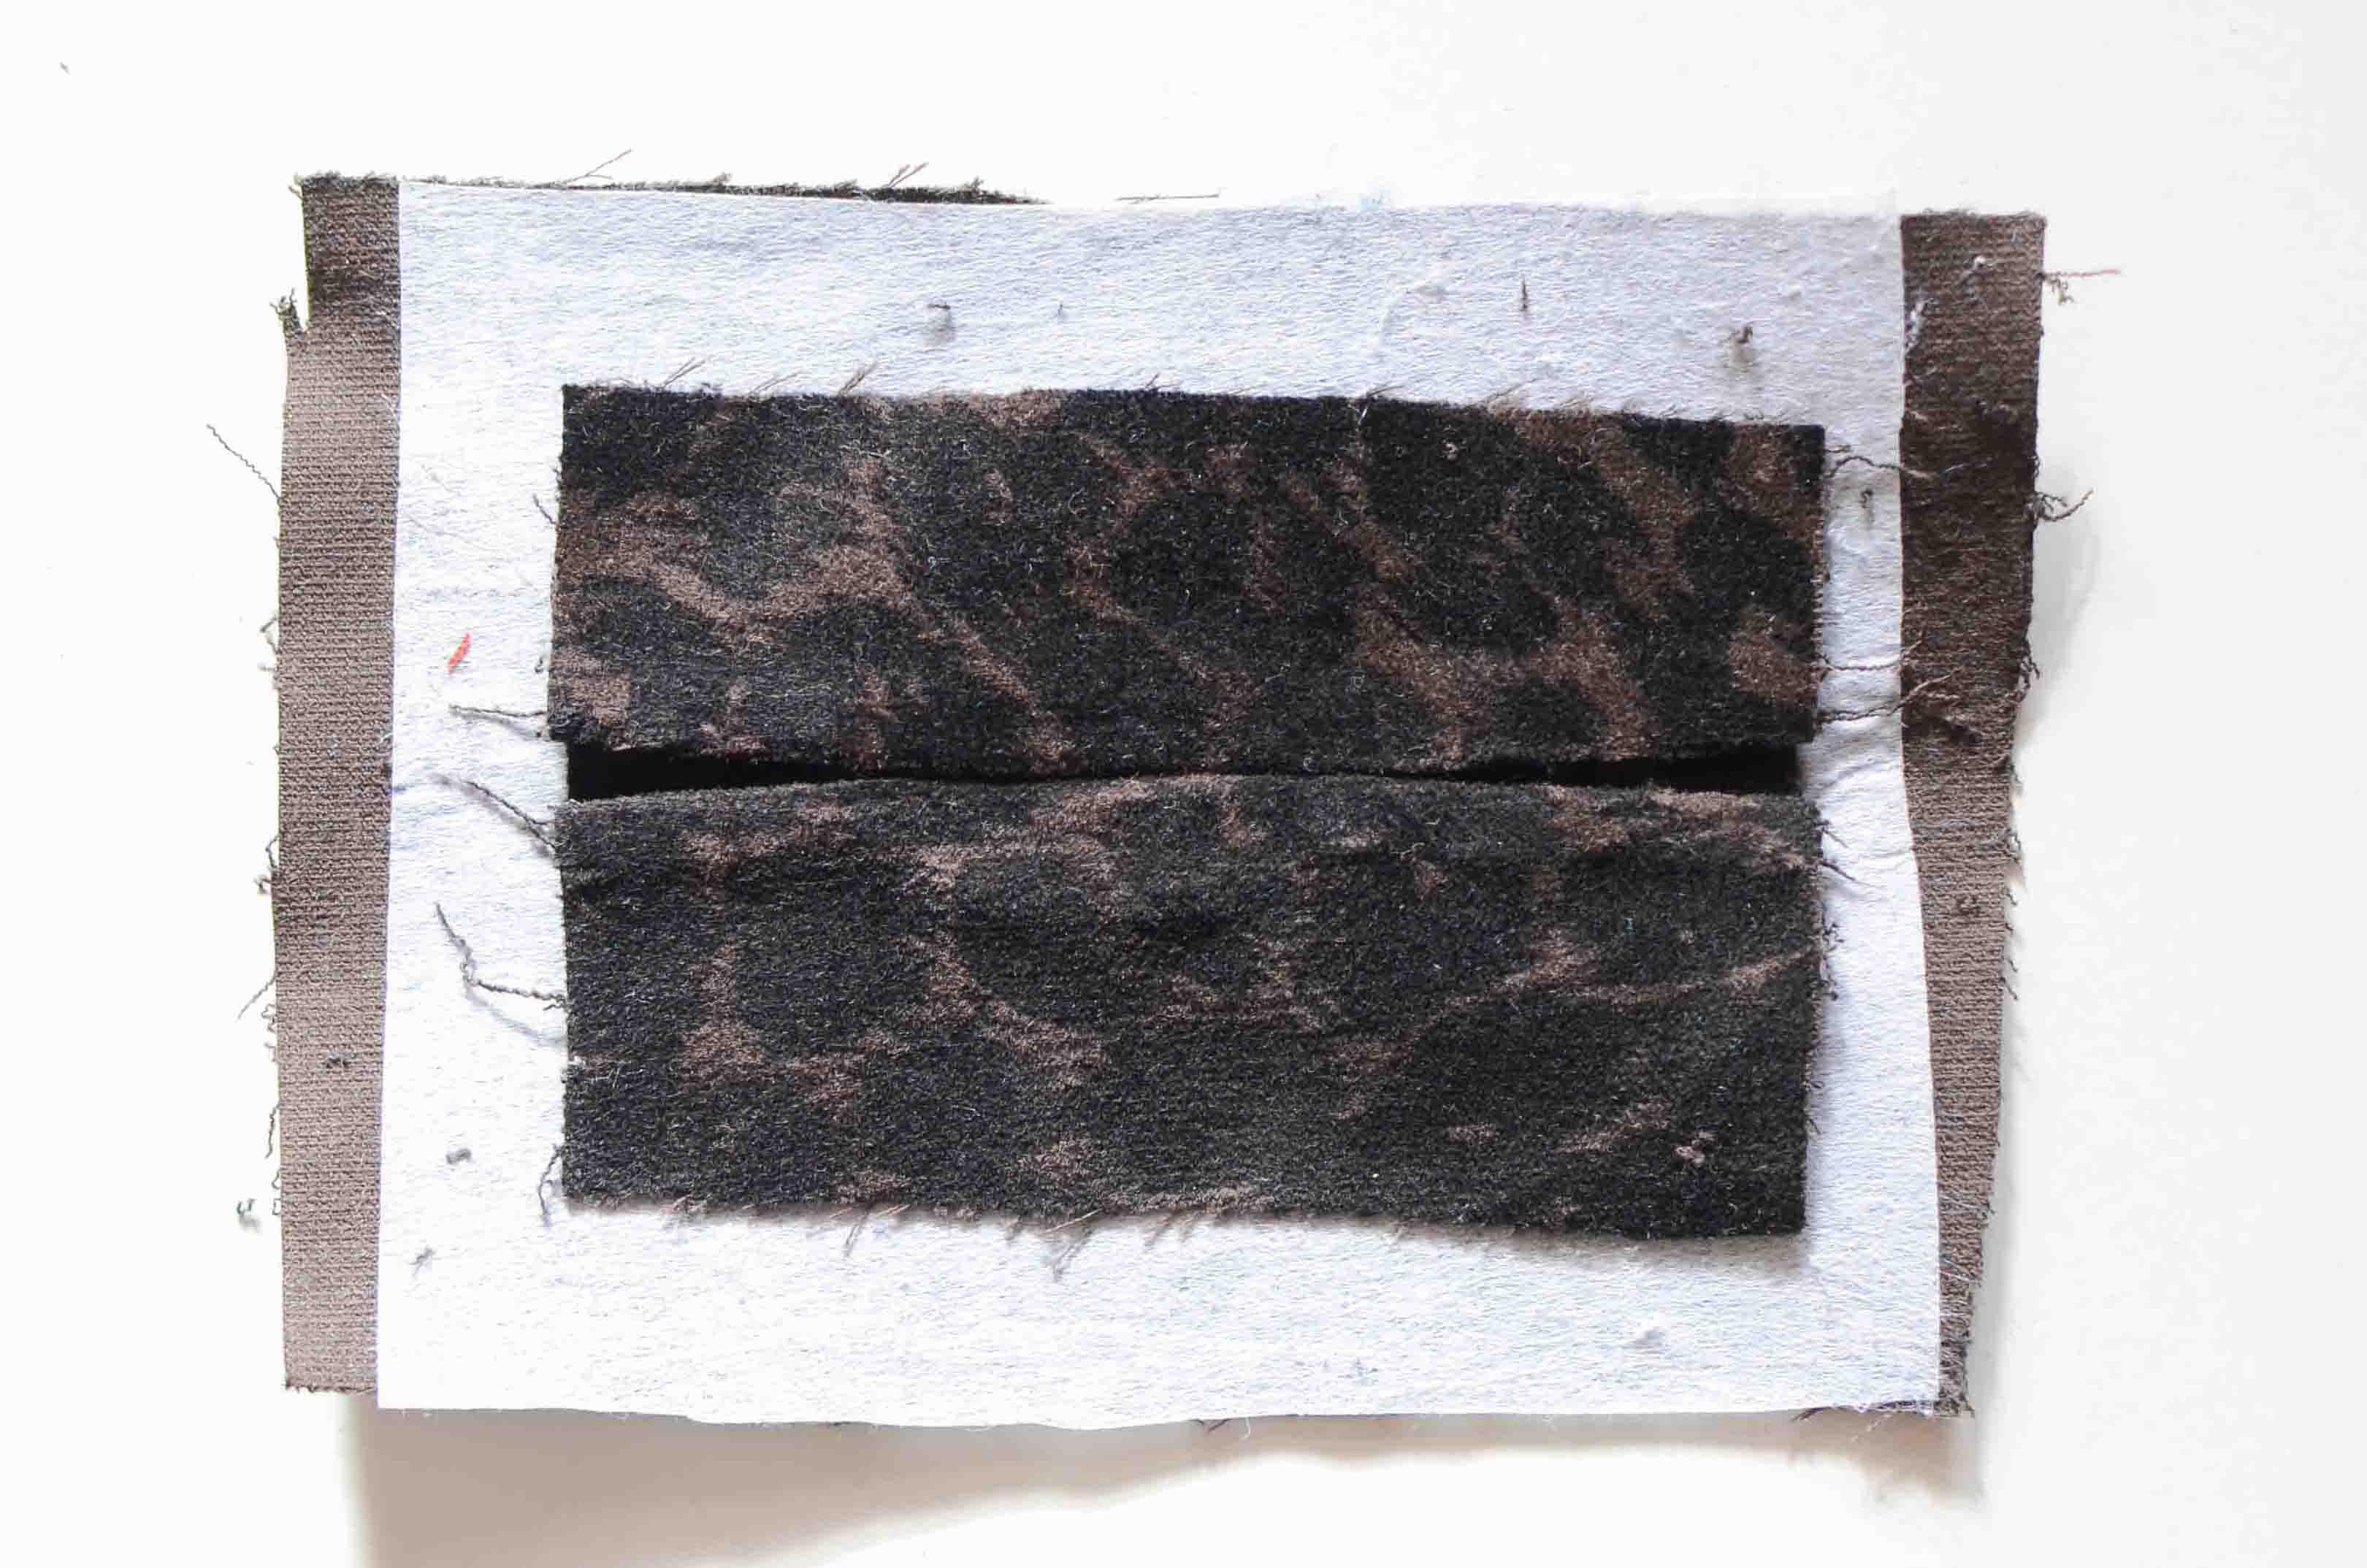
This is how it looks on the right side, you can hand baste the lips together to keep them in place.
STEP 5
Stitch the lining into place and sew around the buttonhole.
I used a contrast thread so you can see it better, but use a thread that is the same color as the fabric.
You can also hand-stitch if you don’t want to have visible stitches in the lining.

That’s it, more time-consuming and not so easy as regular buttonholes , but definitely it’s a beautiful detail that will give your garment a couture finishing and a great strength, so you’ll be able to wear it for years!
WHAT’S YOUR FAVORITE BUTTONHOLE TECHNIQUE?